Interesting, my tablet says it maybe a link to pirated content! HTF does it know?
Anyway, I've done one and it seems to be a good job although I haven't fully assembled as I need some parts like seals and bolts and some blasting, rust dipping and painting.
As usual with such things the accuracy of drilling is important, and I have parked some of the stupid bits I did, so the procedure below is theoretical but not strictly tested 100%.
1. Put the old one on top of the new one covered in tape, even it up and draw on the cutout and bolt positions. One of the bolts overlaps the existing hole and you might even be able to get to line up but then the caliper cutout will not be centered, ideally the hole should be plugged and ground down. The MGB plates are handed, you can make them ambidextrous but then you have more holes to drill or fill. You need the struts to identify which holes you need on each side (mark these on the old plate).
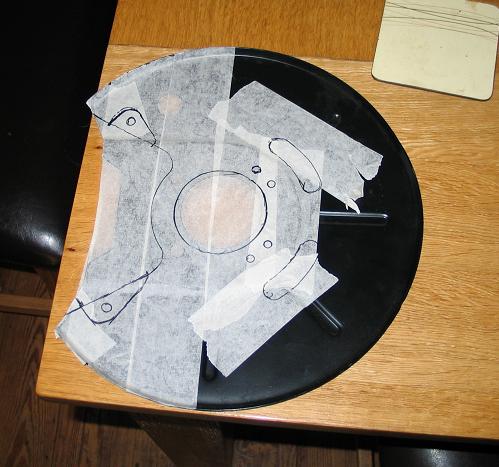
- MGB plate marked up.JPG (40.6 KiB) Viewed 11797 times
2. Drill the 2 middle holes at 7mm, put the bolts in and put a 6mm drill with some tape round it through the caliper carrier holes to mark the hole positions with tap from the hammer, or maybe a little drilling. This should give an accurate position. Some washers will be needed between the plate and the carrier, I think it needs only 1x1.5 (on each bolt). These can be tacked/glued or left loose but they will be fiddley to assemble.
(Stupidly I cut out the the carrier bolt surrounds to make it like the original, this was a huge amount of work when a hole could just be drilled and a washer or 2 used to keep it nice and straight. Note to self.. less OCD)
3. Once the bolts all fit, drill them out to 7.5mm.
5. Make a ring for the centre from 0.9mm steel, 12x160mm (approx) using a small tiptree jam jar as a former (D68mm I think). Weld, grind and get as round as you can, err on the side of larger.
6. Put the ring on the plate (grind away the paint for welding of course), and the big bearing on the stub, then settle the hub on it.
7. Use the hub to align the ring (maybe with some masking tape wrapped around the hub), and tack up. Remove it from the delicate parts and weld slowly, and slower at the more open end as there is less material to absorb the heat. Use an air line to keep it cool. You could get away without seam welding, its just to keep the stones and dirt off the bearing seal, but it also provides strength to the plate.
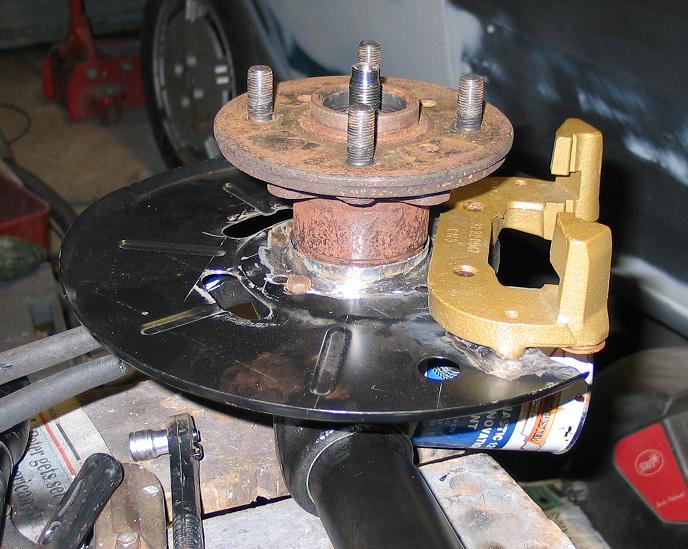
- Centered.JPG (72.43 KiB) Viewed 11797 times
(stupidly I aligned it by eye on the MGB hole then welded, compounding the original eye alignment of the old and new plate, it needed some 'adjustment', note to self... think before welding)
8. The vent holes were made with 4 x 13mm drill holes + some cutting and smoothing out with a power file. The centre push-in bit provides strength during welding and I see no reason to remove it, but I did file it down a bit with the powerfile as there is not much clearance to the hub.
 Viewed 11797 times")
- old and new
9. Grind, clean and paint. Make sure the areas around the bolt heads are flat.
Parts:
MGB disk back plate = £14 / pair
http://www.ebay.co.uk/itm/MG-NEW-PAIR-M ... 4869109f4d
Bolts : 8x M7x16mm 8.8 grade
http://www.ebay.co.uk/itm/120811012894? ... 1439.l2649
Spring Lock washers: M7