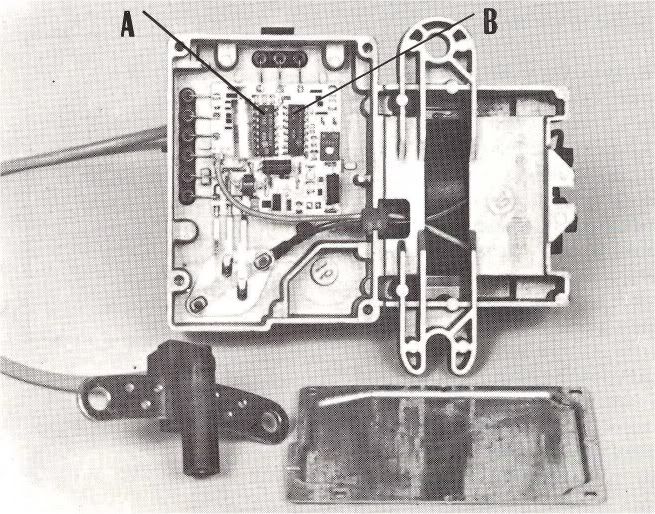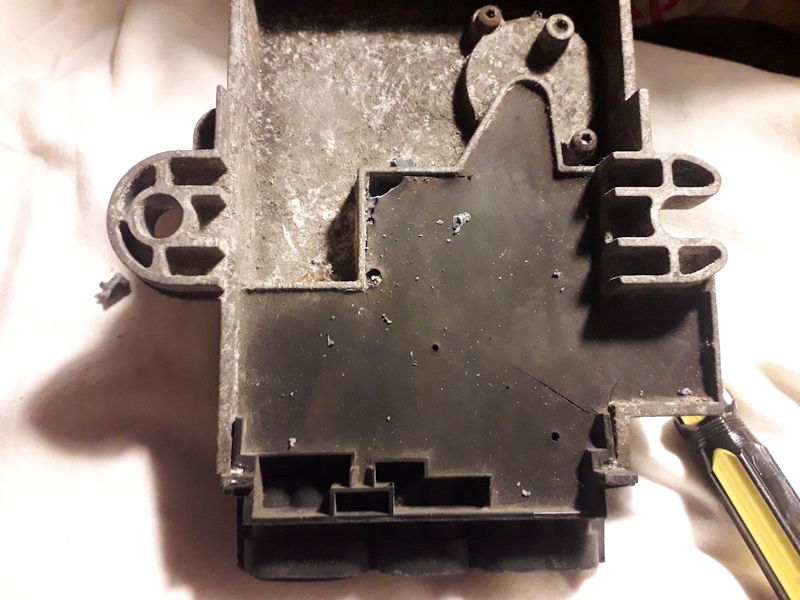
Lets attack the sealant on the back, as carefully as possible, but I probably was not as careful as I should have been ;-(
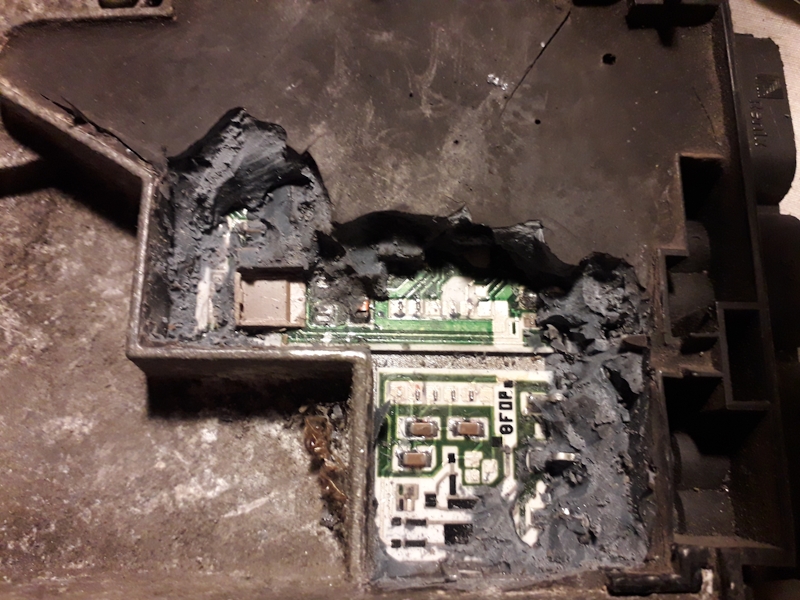
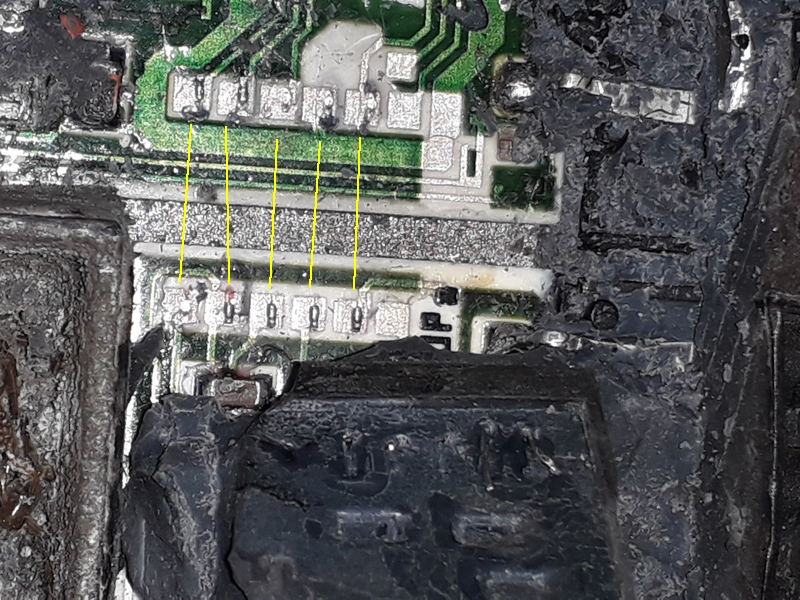
True indeed, the rubber has wires embedded in it and 5 of them broke so the plan is to replace them as shown below.
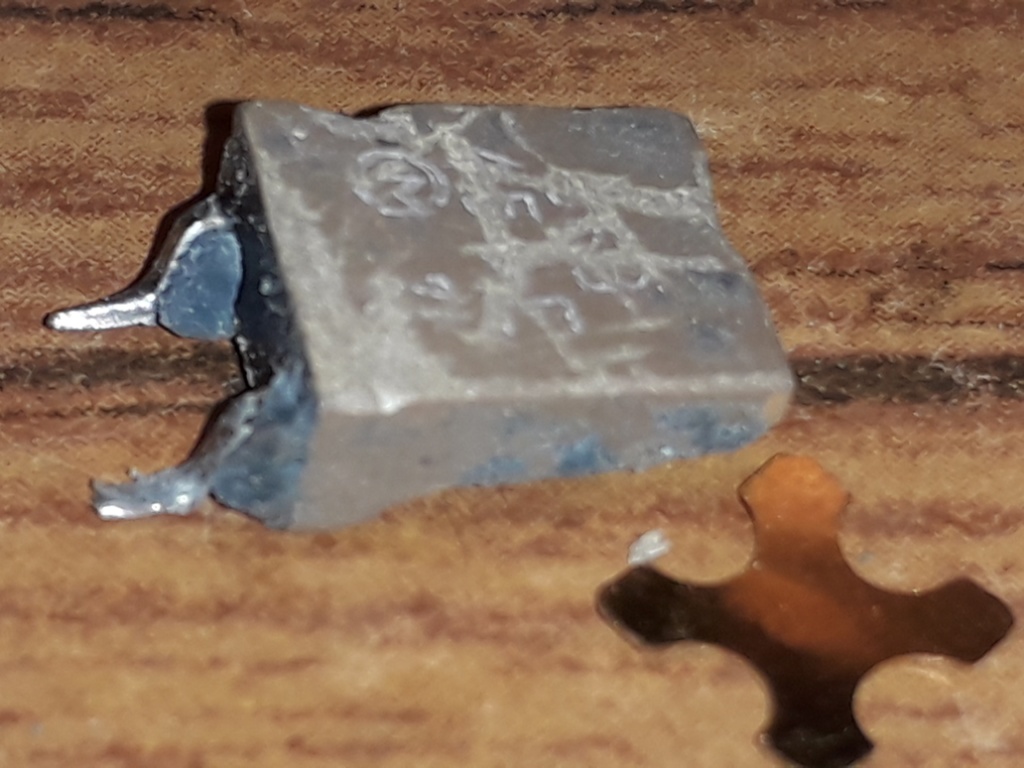
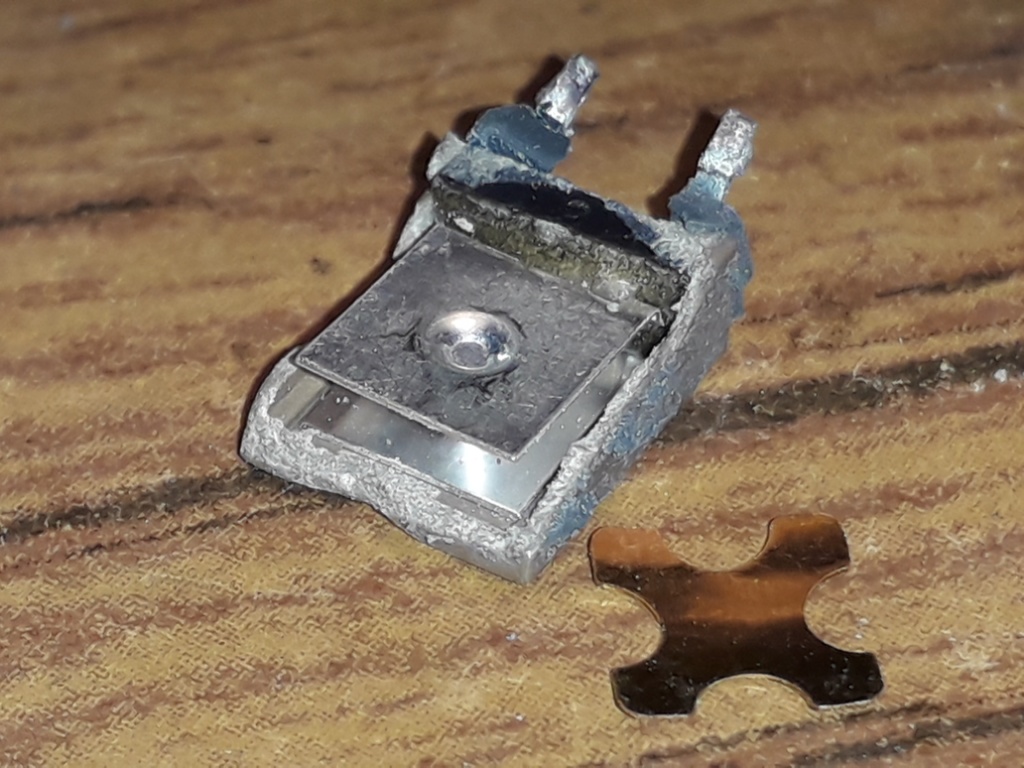
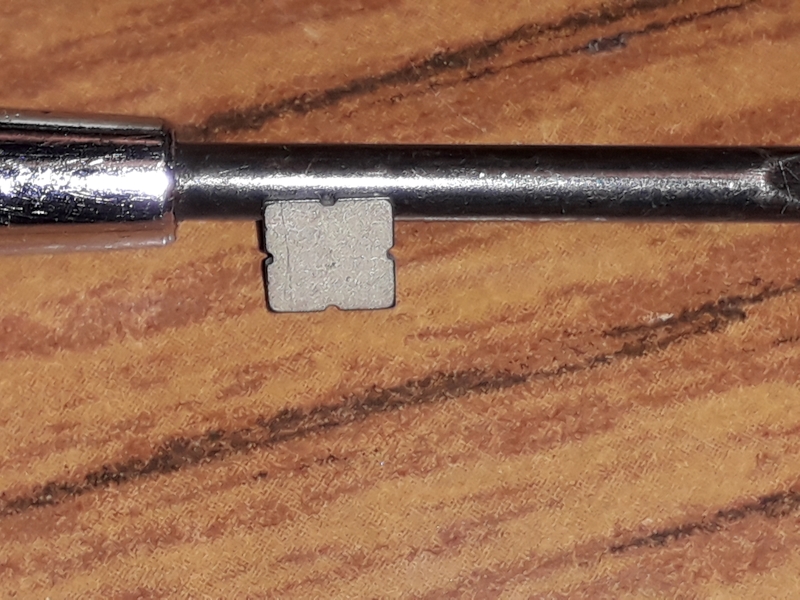
Also, in the picture before last, there is a little brown casing on the left hand side which is the remains of a mystery component that also broke. It had several metal plates in it which are in pictures below including a wierd cross-shaped one that was curved. What is it? Answers on a...
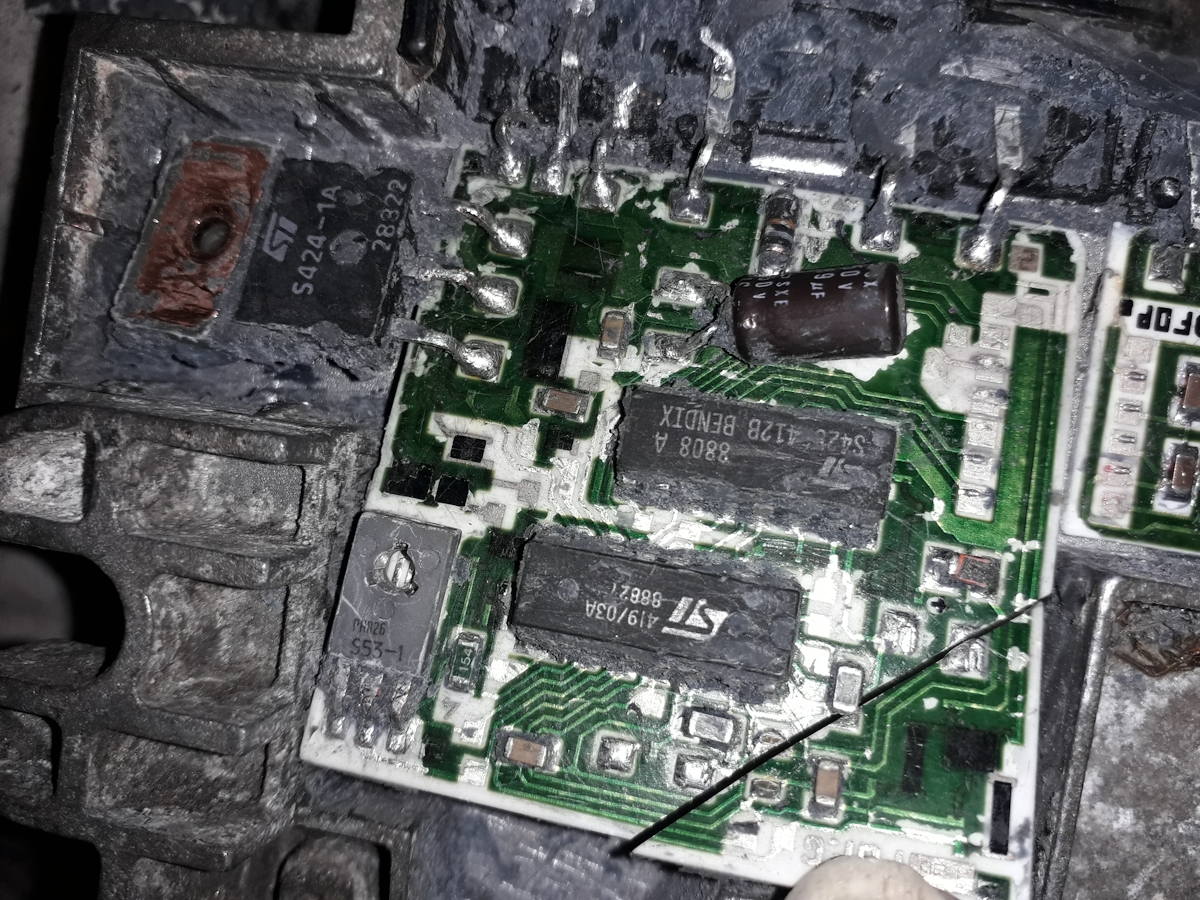
Right, dig a bit more, dig, dig, dig. Now, there's a nice big capacitor. Everyone always says that if it doesn't work it'll always be a capacitor. However, without fail, every time I follow that advice and replace the biggest, most burnt looking capacitor in sight, it never makes any difference, so I am coming round to the view that they are much more reliable than popular legend has it. So we'll leave it firmly in place for the moment. Dig, dig, dig.
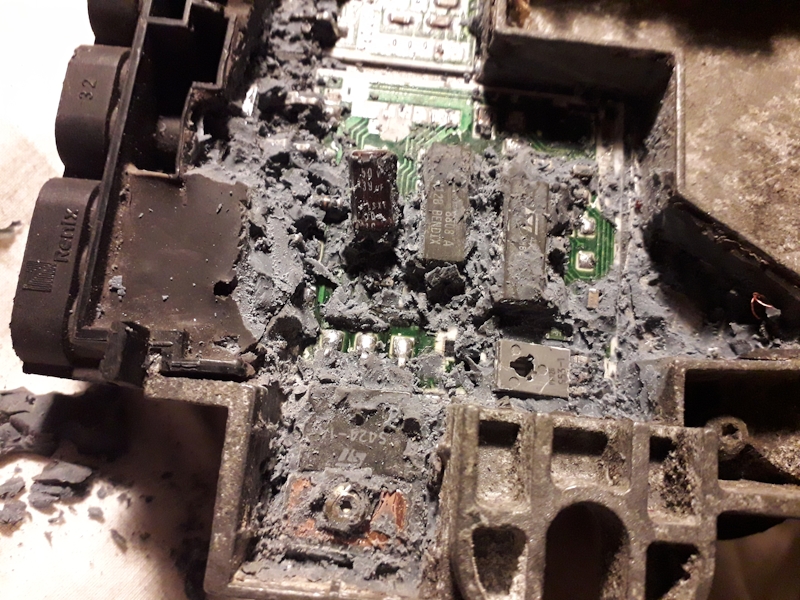
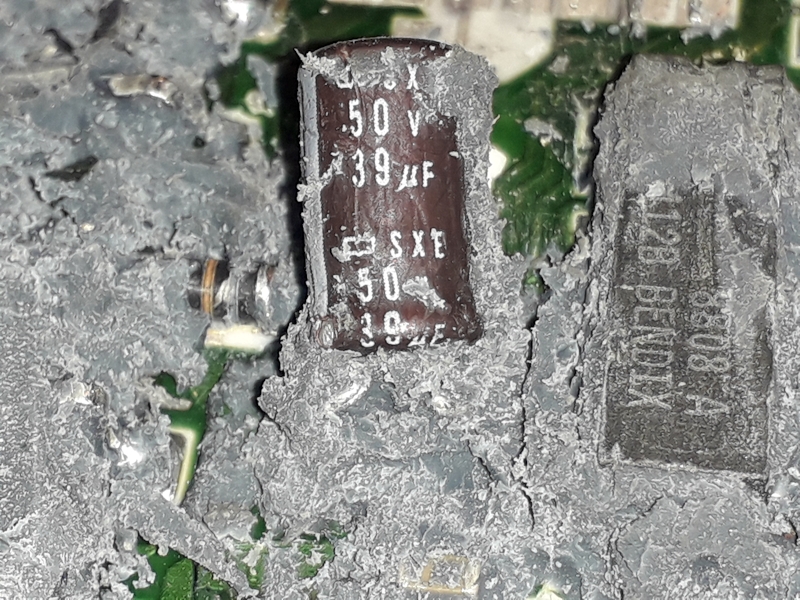
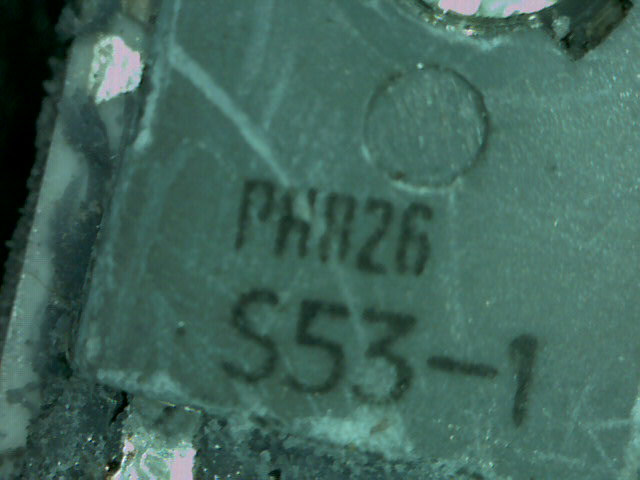
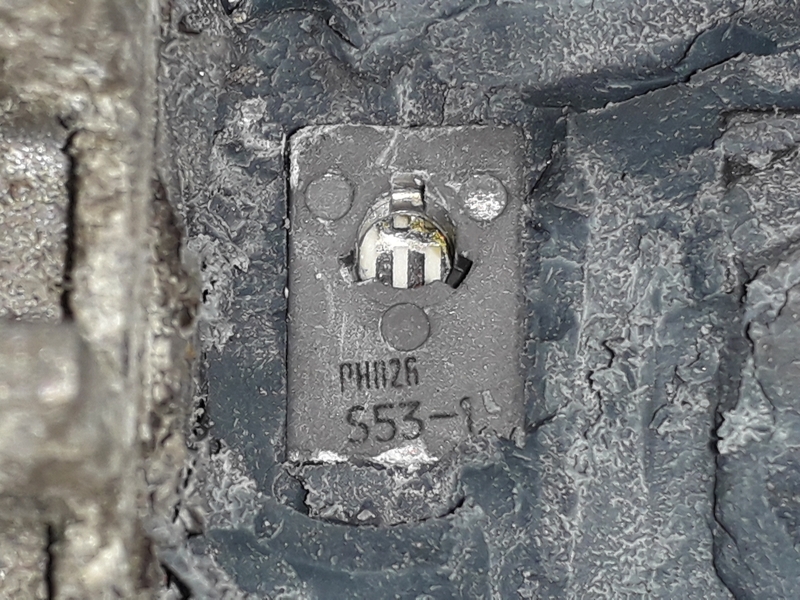
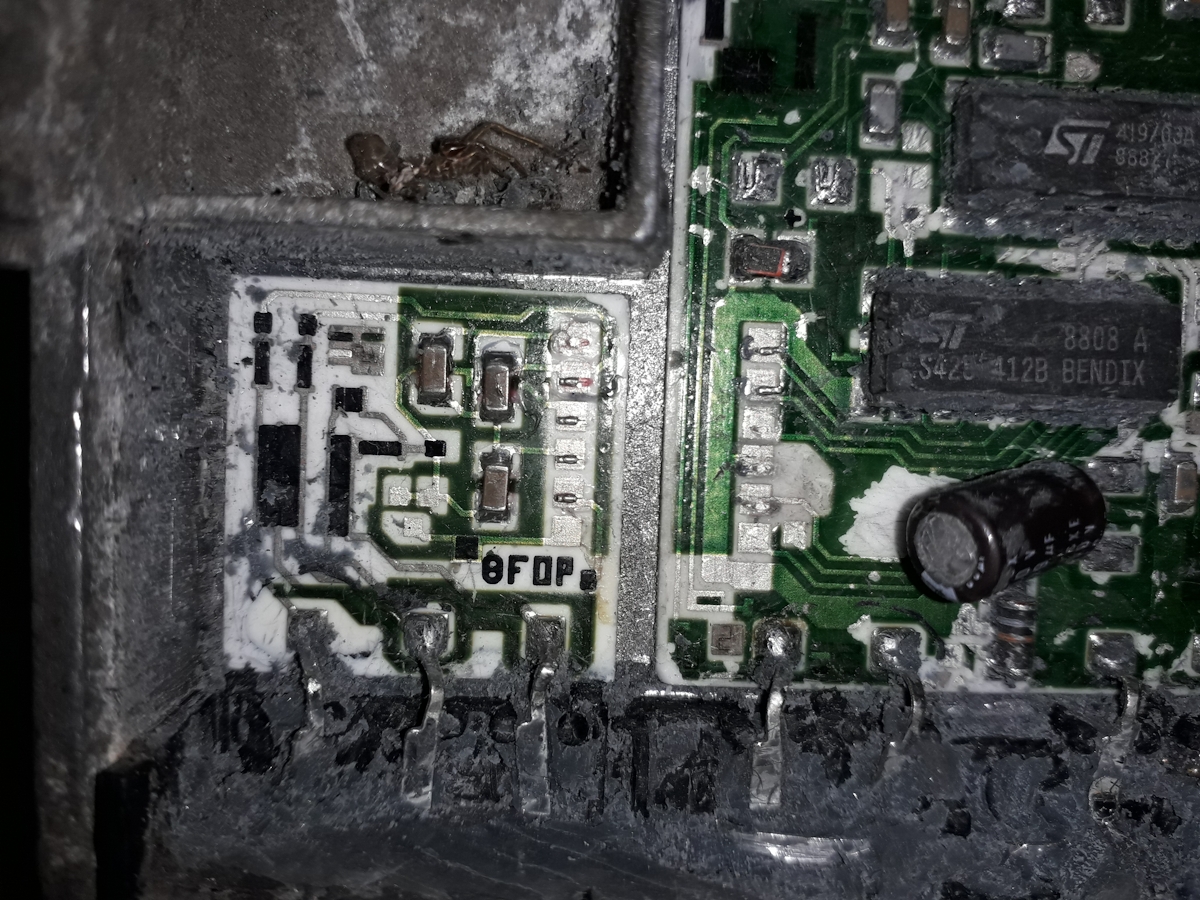
And, what's this? Another mystery component with a designer hole in it shows up.
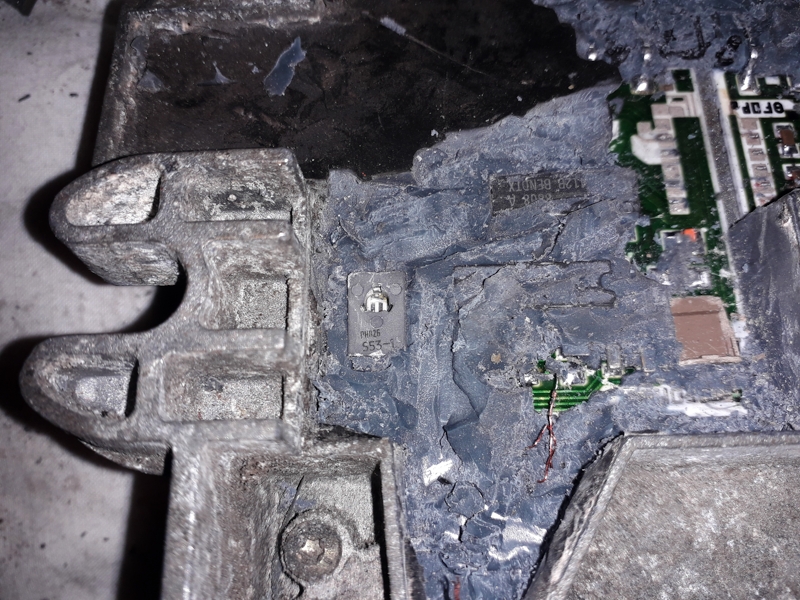
Zooming in, its very weird. Deffo leave that one in place as it doesn't seem to be damaged. Again, what is it? A little coil with a hollow core?? A google search with that part number will probably tell. Note to self - to be done. The above picture also shows another of my disasters. There is a thin copper wire buried in the rubber, that goes between the board and the vacuum sensor, which broke. I think it can be repaired, but I am not sure where it connects to the board, but I think it will be possible to tell from this photo.
OK, so we really are talking about hours of work here and here's how it looks.
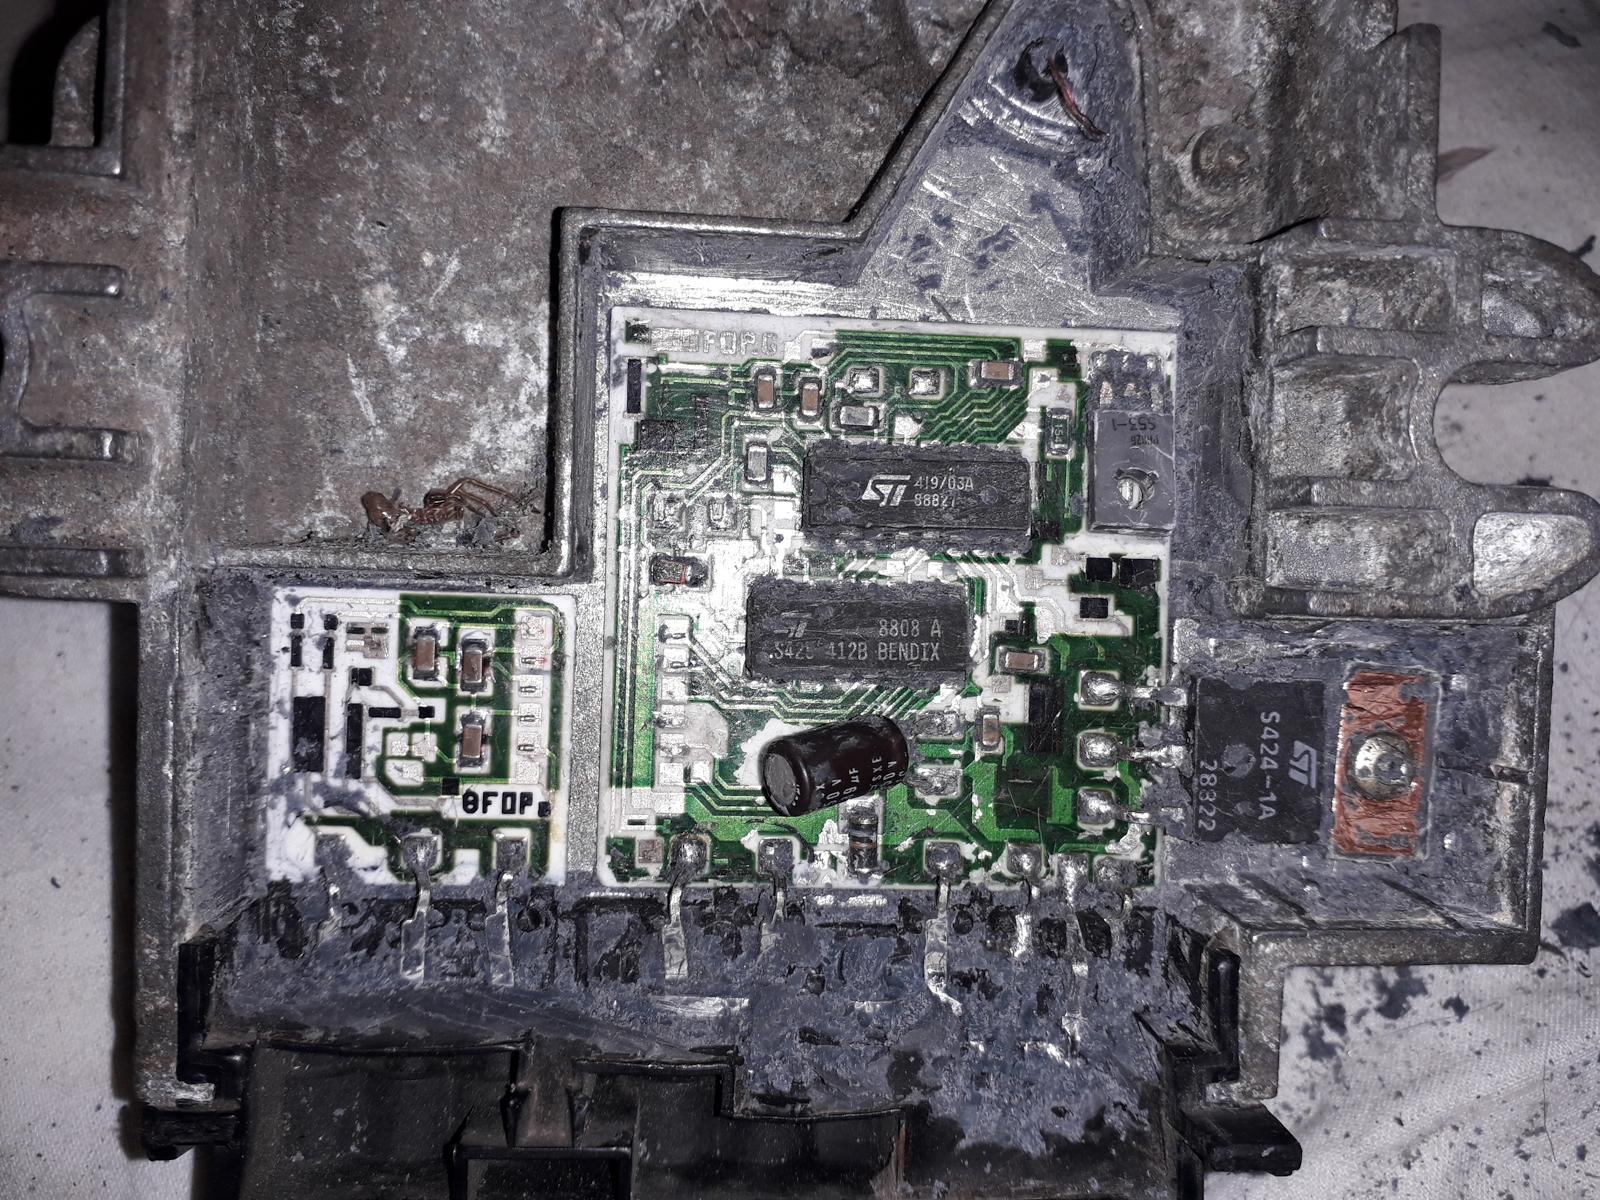
That thing with a big heatsink in the recess on the right unscrews and lifts up quite easily. There is a small sheet of heat resistant insulating material under it. I guess it may be mica, but I have no idea. It seems reasonably intact despite lots of digging marks around the edge.
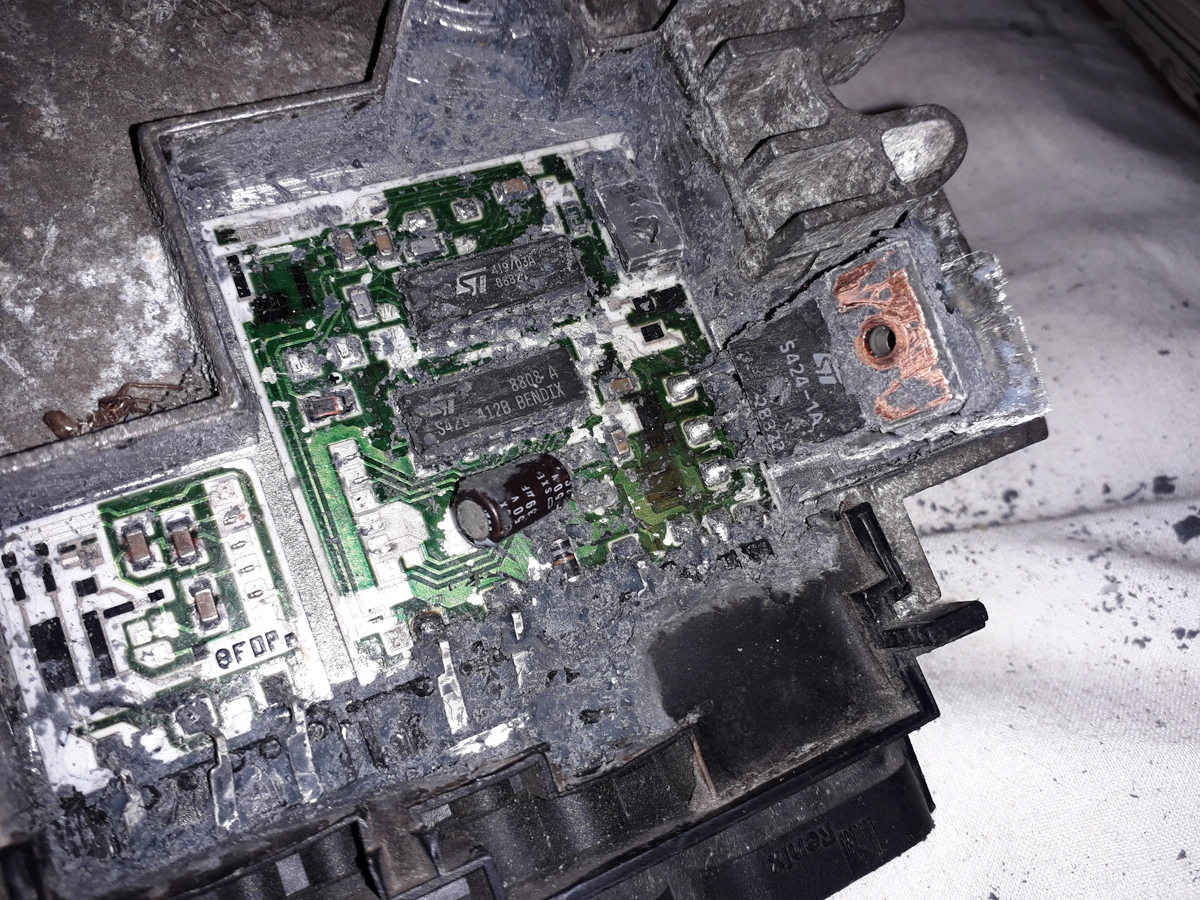
Right, more pictures, pictures.
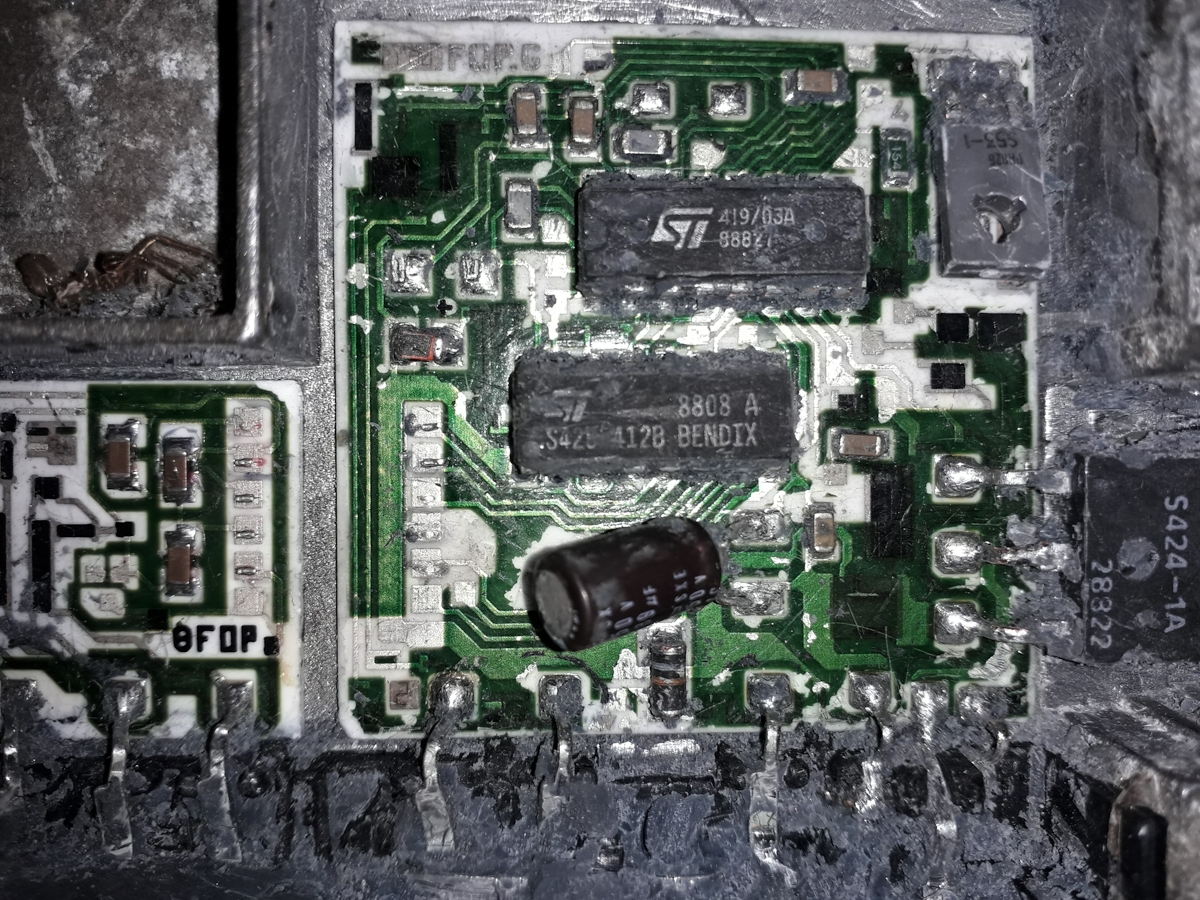
Right, a very big right and a curse, because this is where it all went Pete Tong. The plan was to gently, gently lift up the circuit board to see if we can see any signs of heat under any of the components, so here we go, prise in one corner, prise in another corner, prise here, prise there, prise everywhere and... swear... *snap* ! !
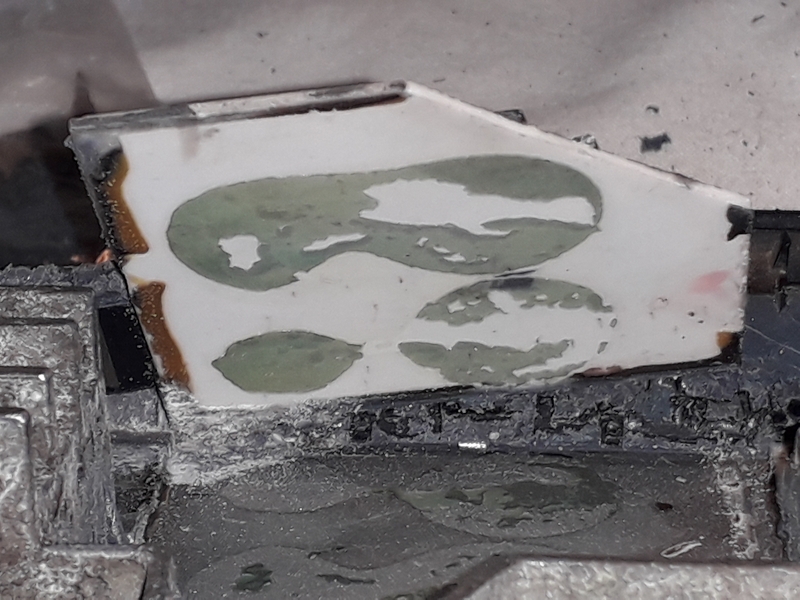
Yep, OK, so most of the circuit board did lift up (that's the good news, ever euphemistic, decades of experience making excuses for my incompetence comes in handy here) but one of the corner's didn't want to budge. Bah humbug ;-(
I can kid myself that it might be possible to glue them onto a piece of plastic and then use a fine nib-pen with some conducting paint to join up the borken tracks but there's about 10 of them to repair so I just don't know if its worth it or possible, fffmmfff. Anyway, here is a view under the circuit board which does seem to show a burn mark under the Bendix chip, which suggests it may be a complete write-off anyway, but I just don't know enough about electronics, etc, to judge.
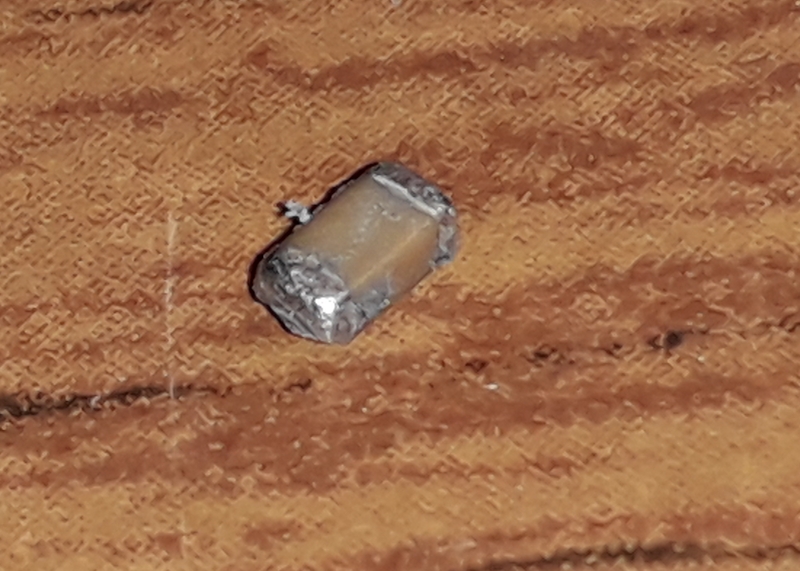
Finally, in the great breakage this tiny little resistor (I think) popped loose but its possible to make out where it should go in the pictures. I will mark them up better in the near future.
What does anyone think? I might try to repair the broken board?? I might give up?? I could probably do it better next time but I don't have any more renix's that are deffo broken. Anyone willing to help on that front?? What do you think?
