Page 3 of 4
Re: Custome's "MM Styling" 360
Posted: 15 Oct 2012 02:39 pm
by volvosneverdie
I love the whole car. The colour of the interior is awesome!
Thanks for sharing dude.
Re: Custome's "MM Styling" 360
Posted: 15 Oct 2012 08:21 pm
by Customer
Thanks.
I loved to beige interiors and metal paint. 360 have also them.
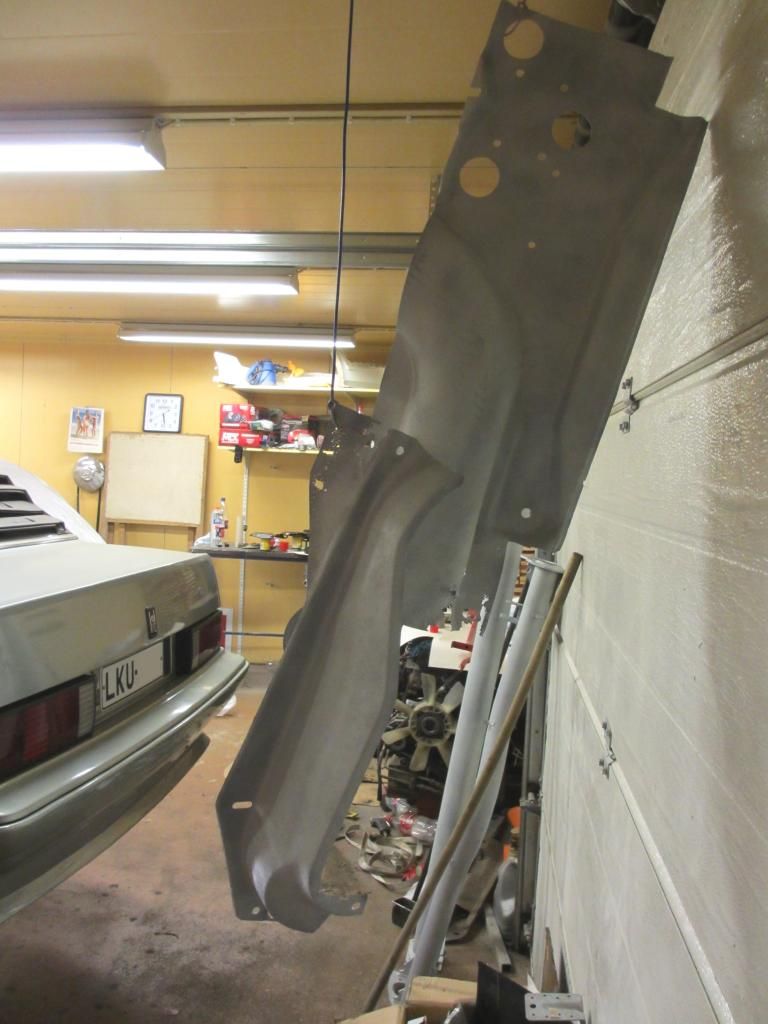
Today i washed 360 over all. Now it are in garage waiting next project steps!


Re: Custome's "MM Styling" 360
Posted: 07 Nov 2012 07:28 pm
by wolfpack
would you be interested in making a body kit to sell ? i have wanted to get some side skirts for a long time
Re: Custome's "MM Styling" 360
Posted: 25 Nov 2012 09:33 pm
by Customer
I not have sideskirt moulds. I have moulds for front and rear spoilers. Yes maybe making is possible when i get time for it. The problem is; i don't know anything how to shipping to other countries.
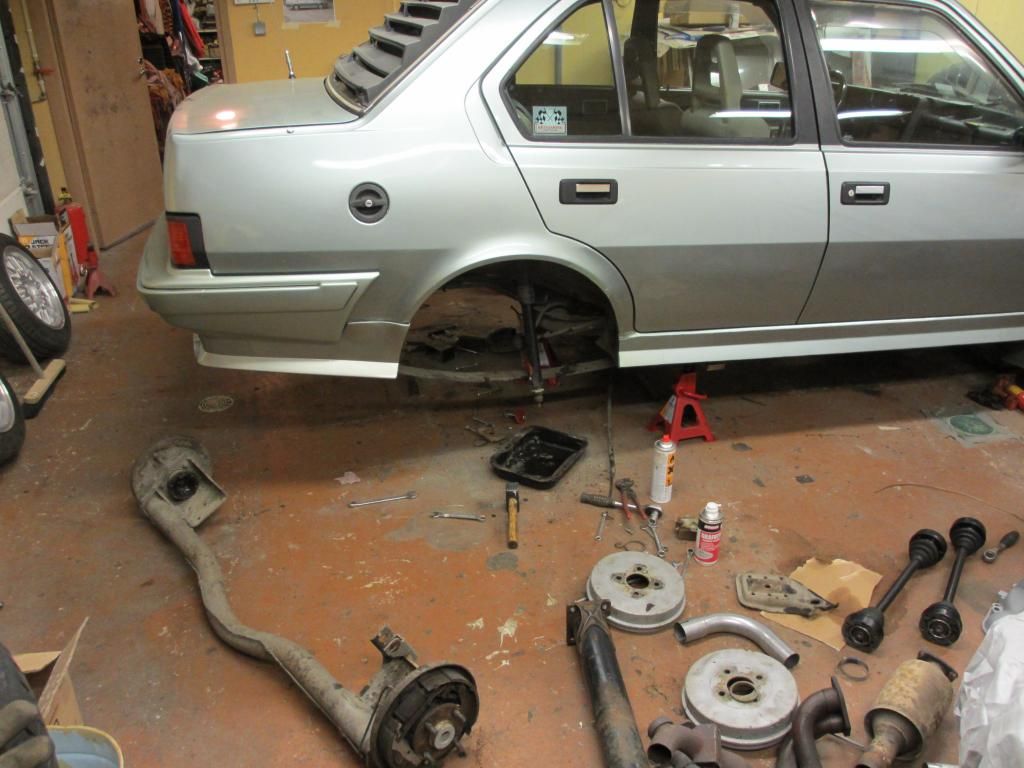
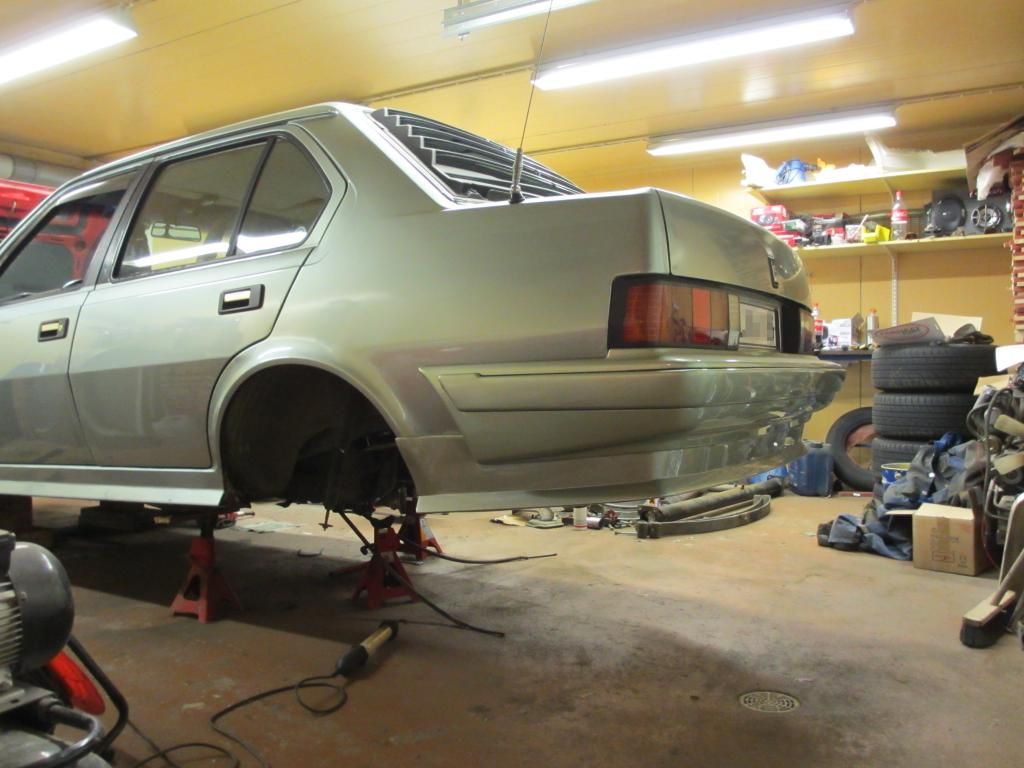
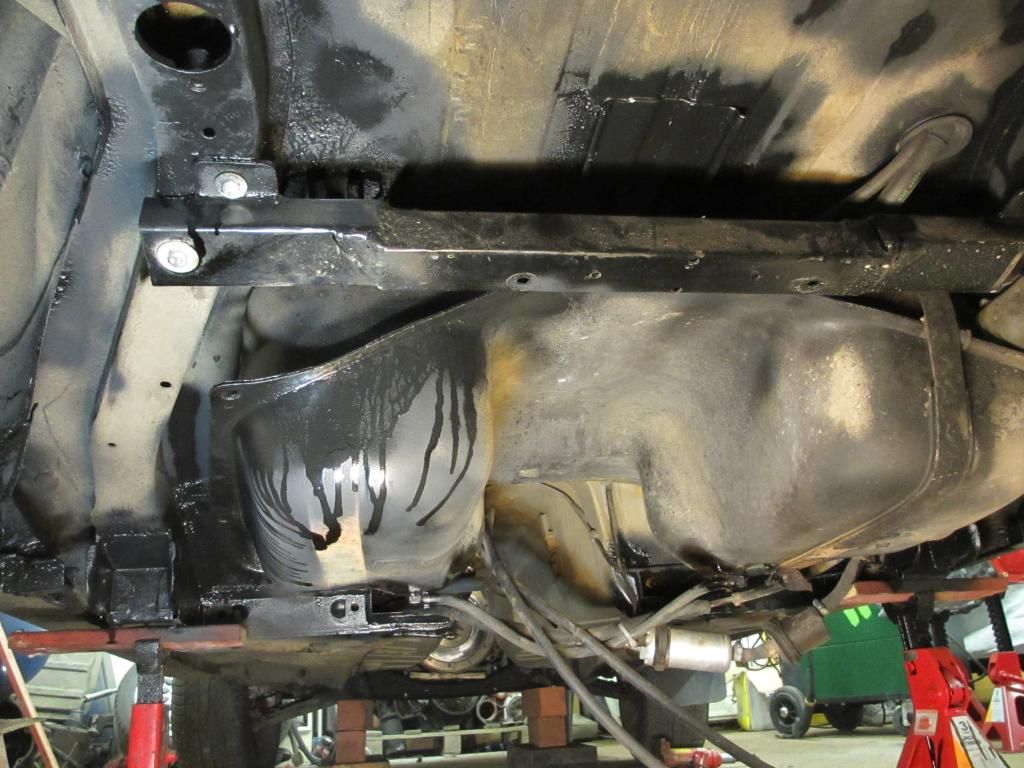
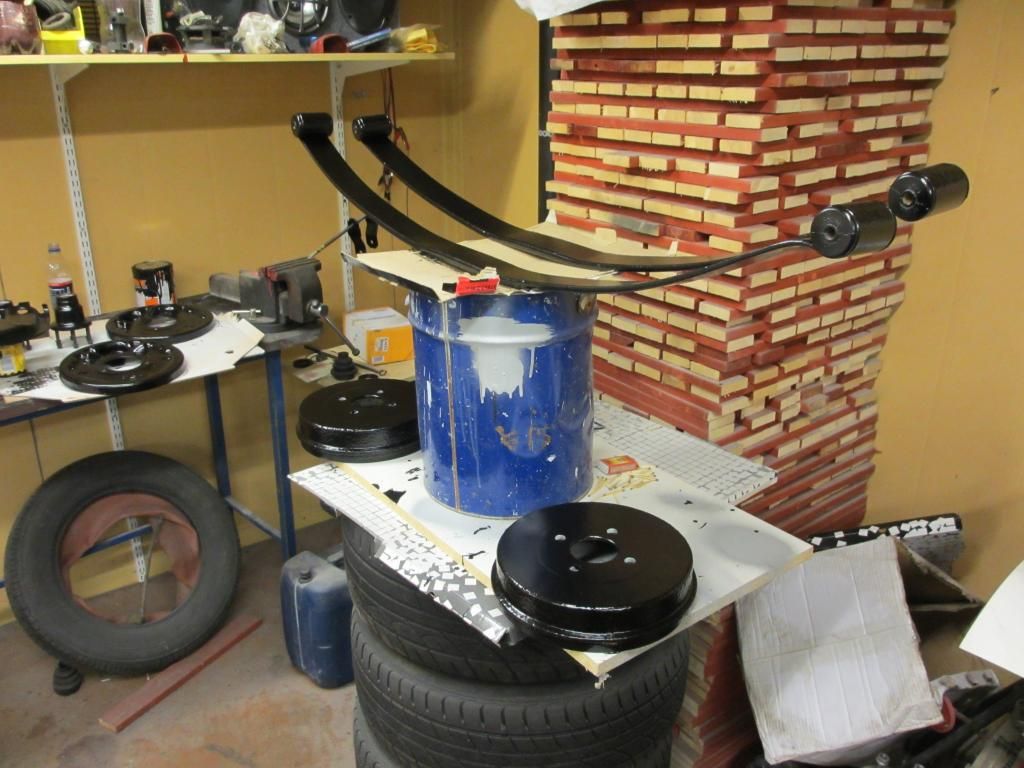
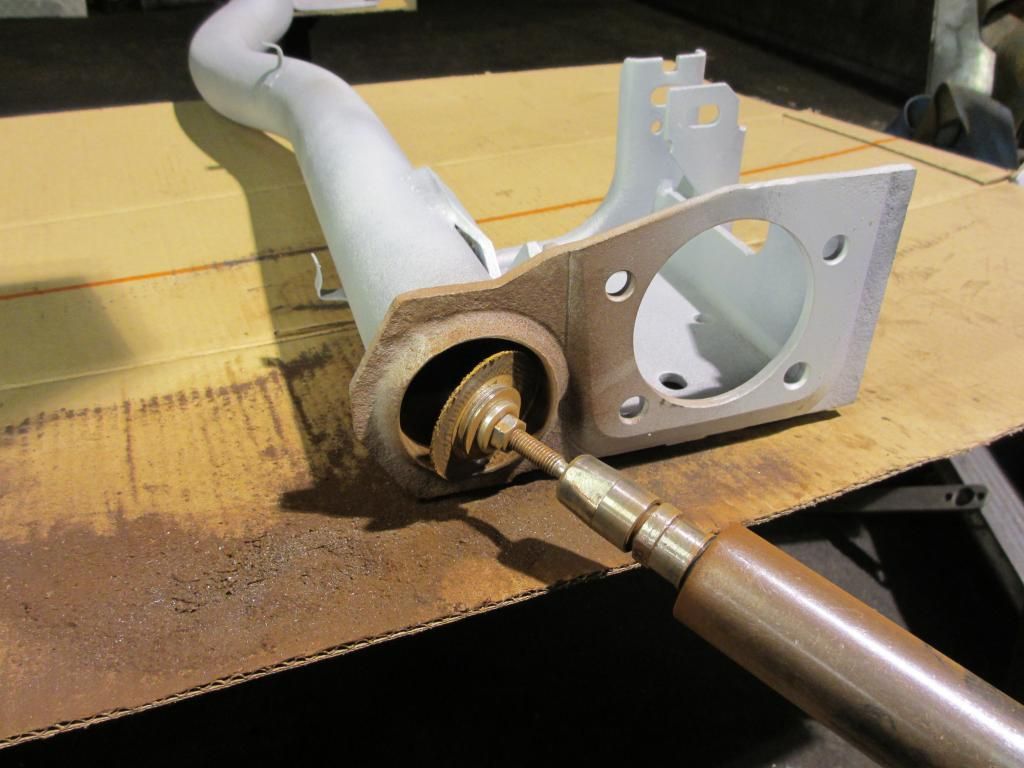
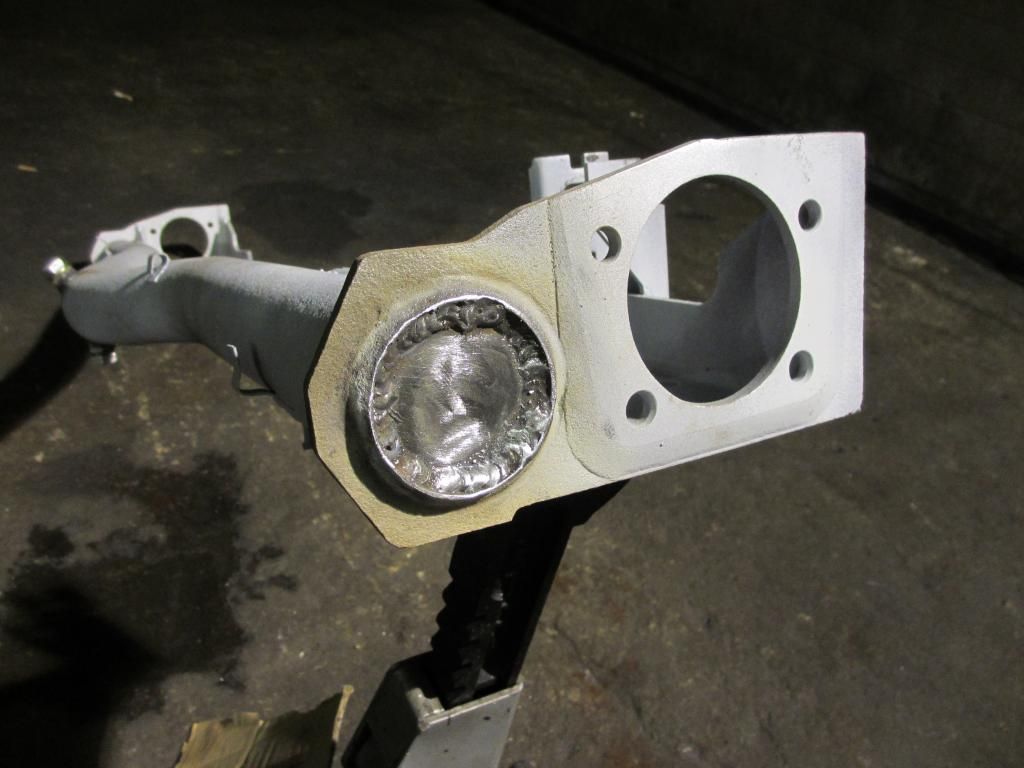
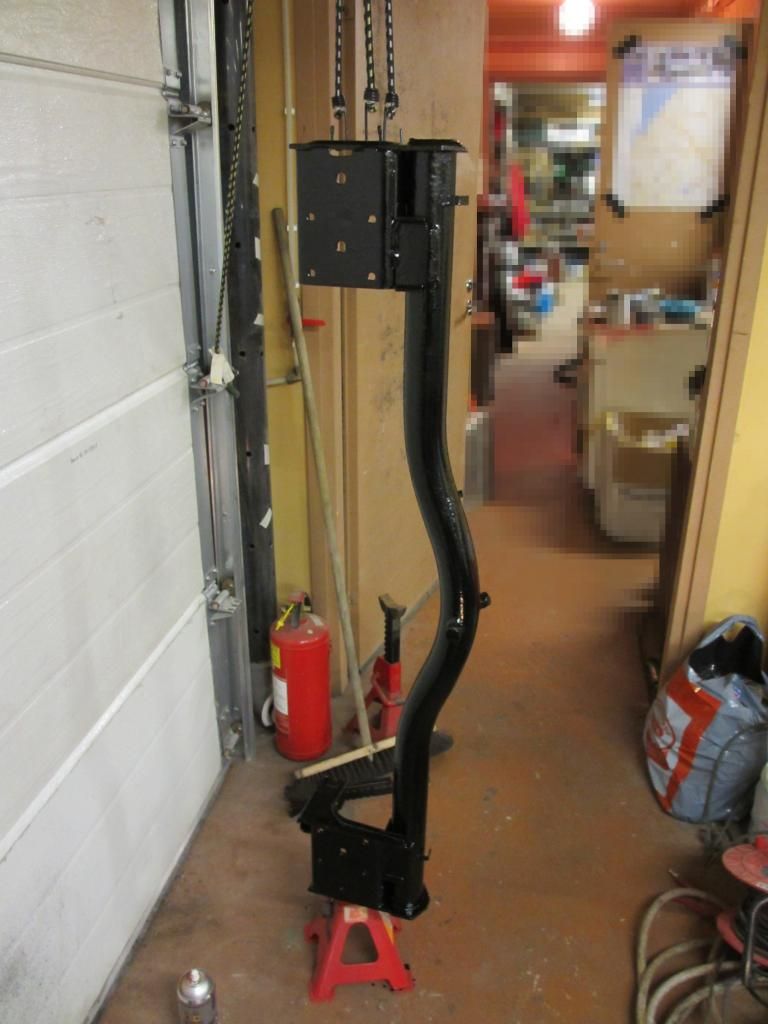
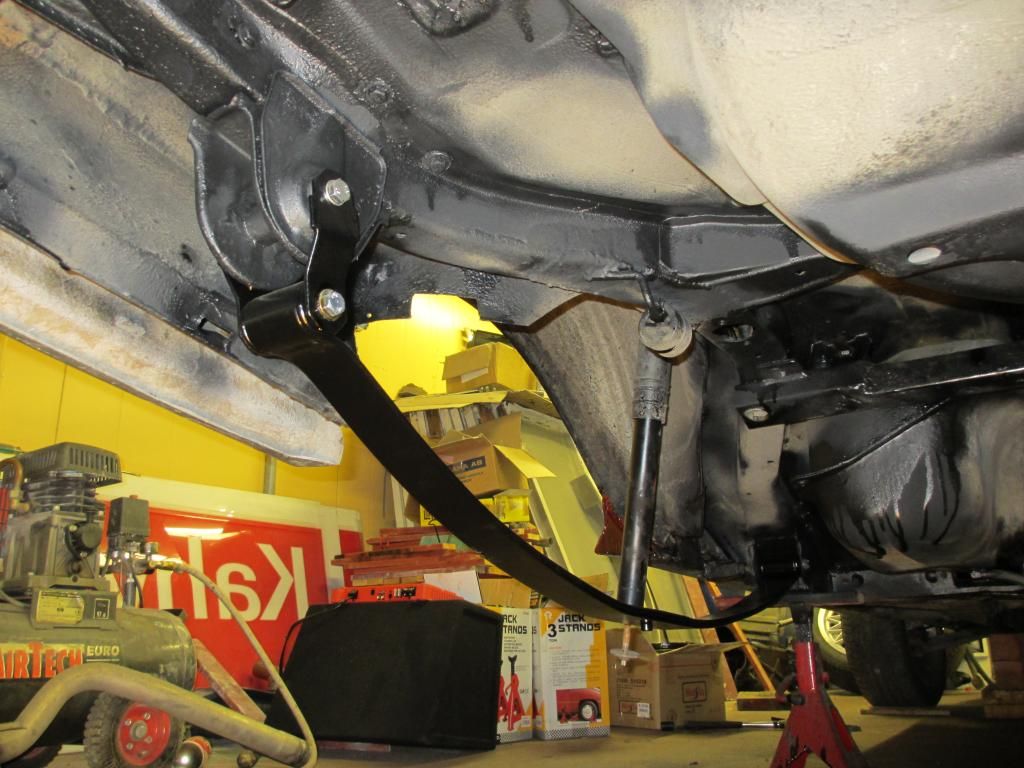
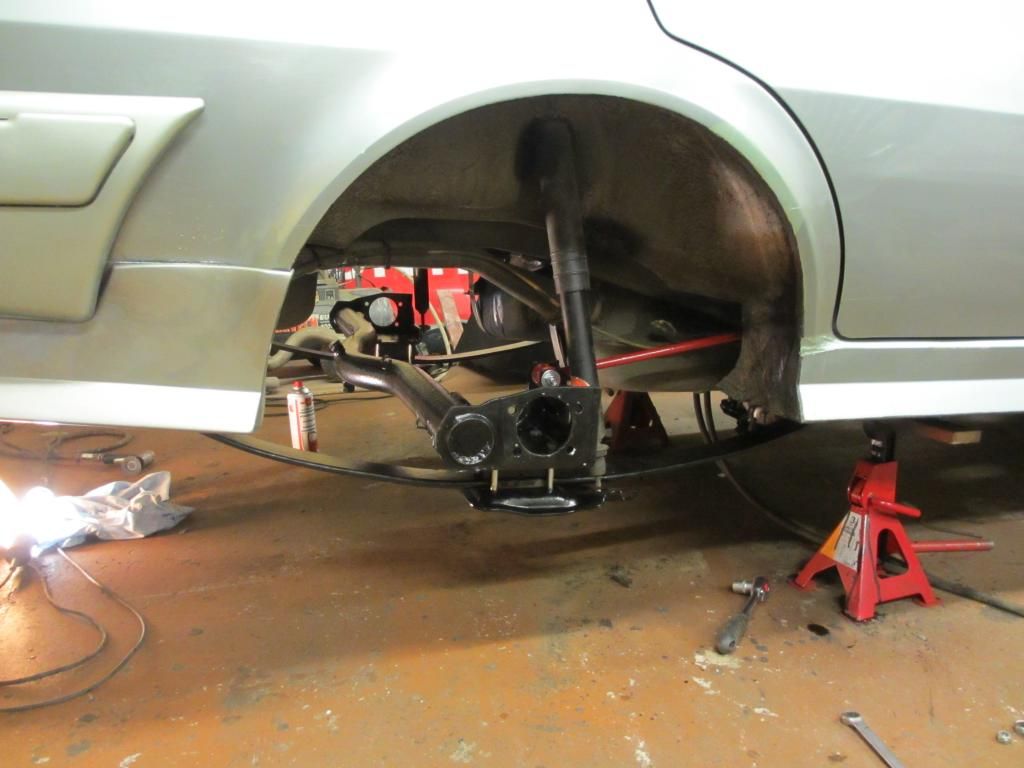
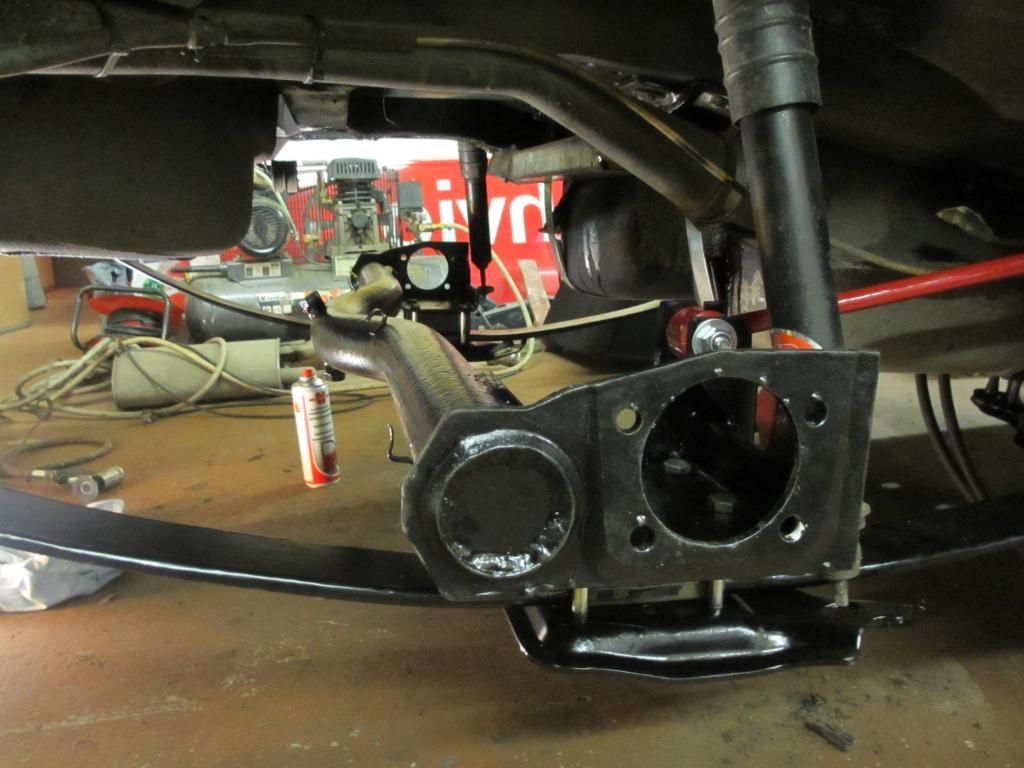
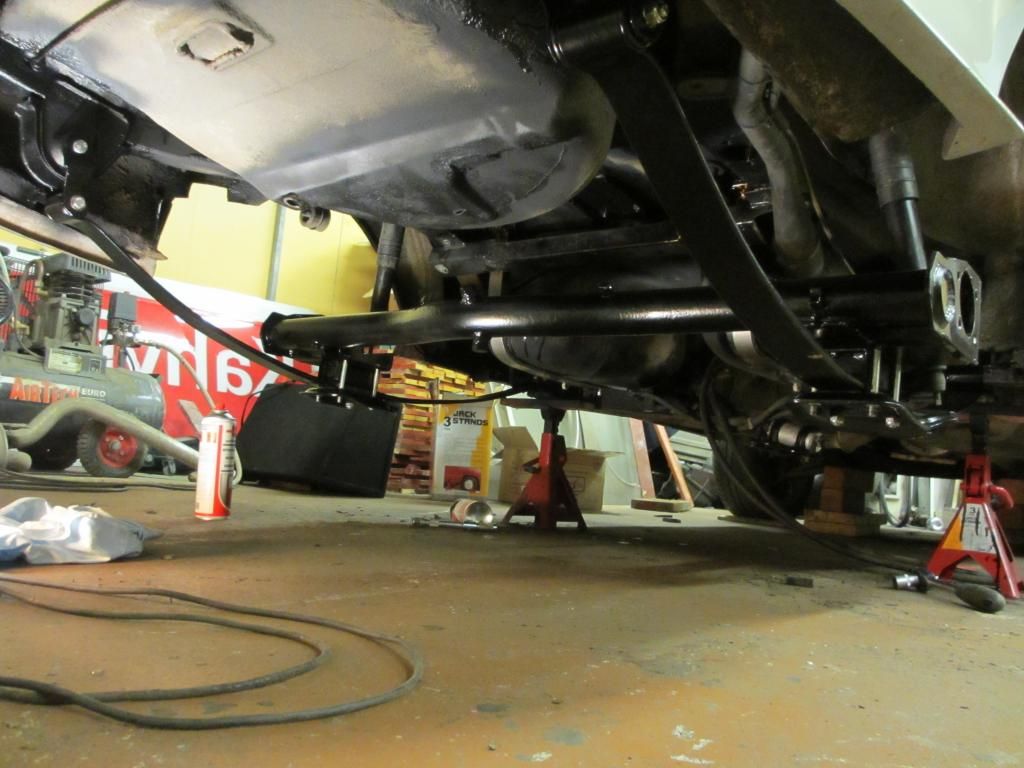
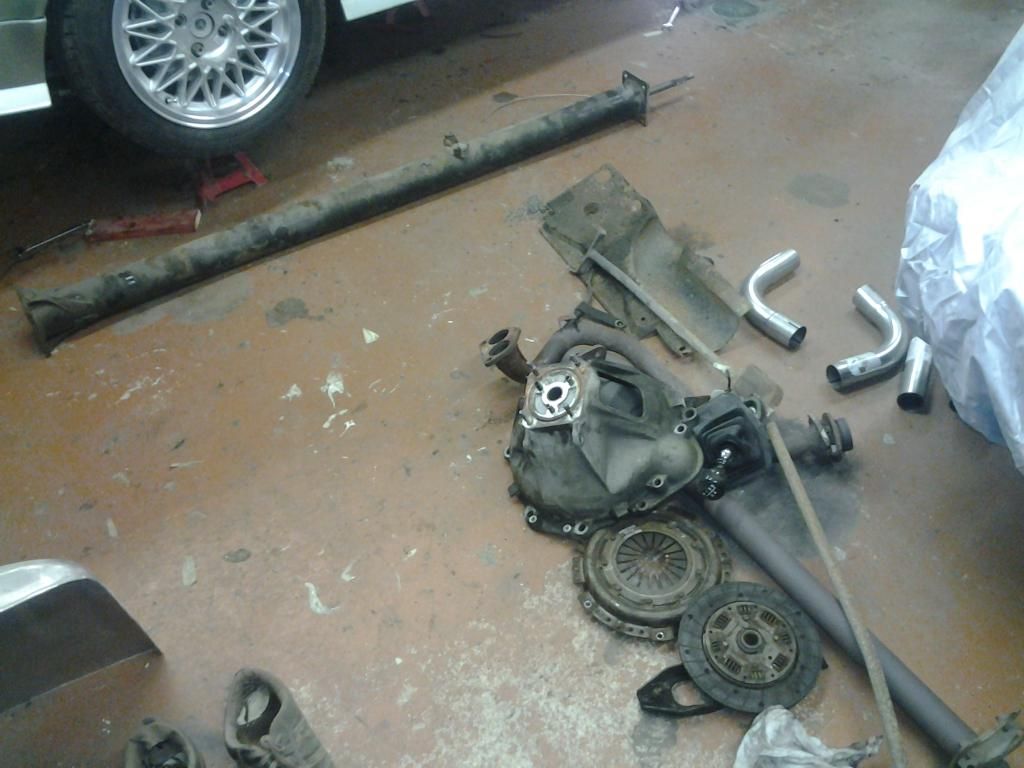
I started building again. First i drop the driveline to floor. Orginal factory asembled clutch needs change. It are drived 270tkm, distance to rivets are 0.3-0.5mm... Shiftlinkage needs repair, left driveshaft is worn. some
seals needs replace. Finaly i build new exhaust system. Removed parts gets new paint before installation. Maybe i remove also rearaxle, it needs sandplasting and new paint. Also i replace brakehoses.
Re: Custome's "MM Styling" 360
Posted: 09 Dec 2012 01:23 pm
by Customer
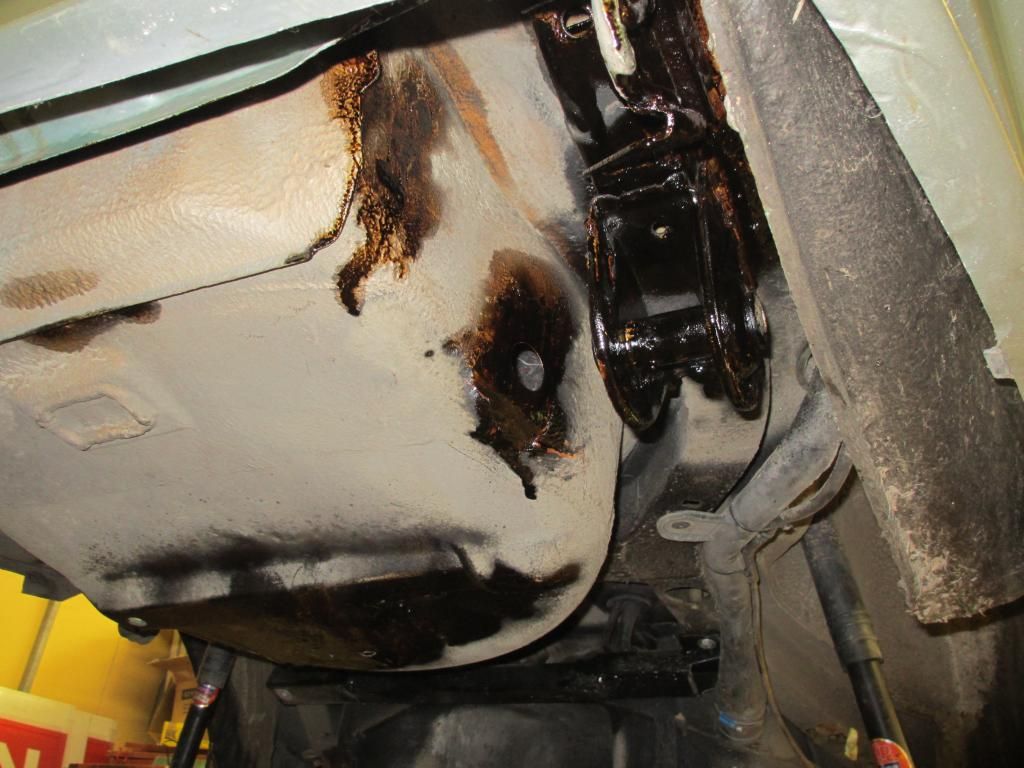
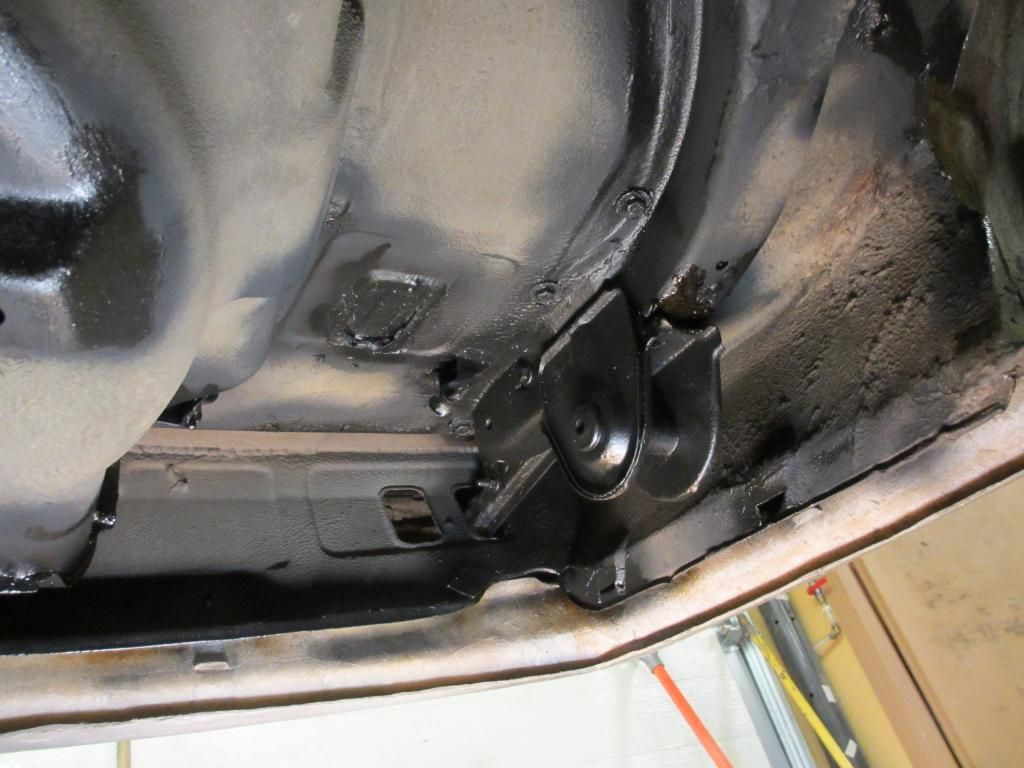
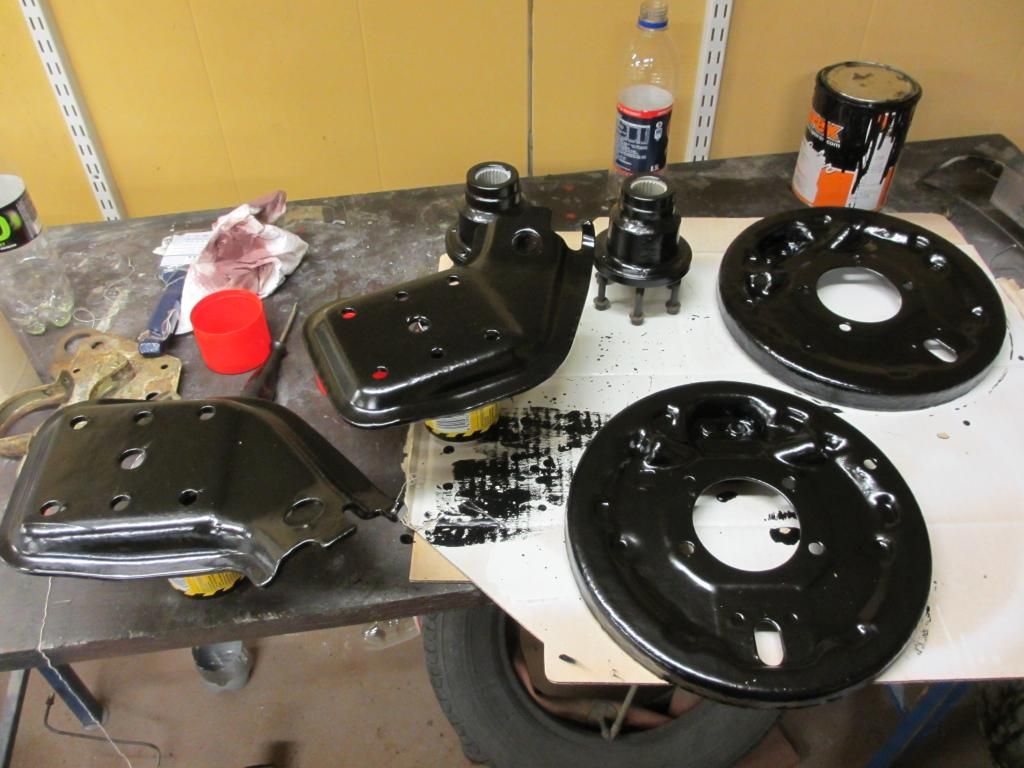
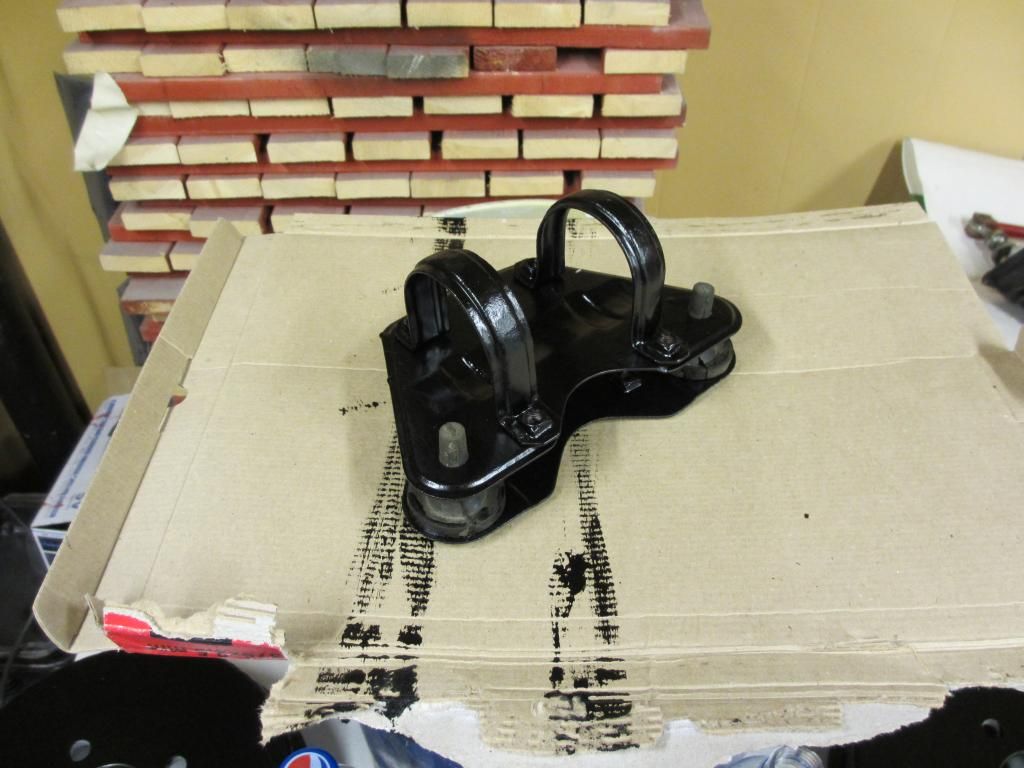
Little cleaning project

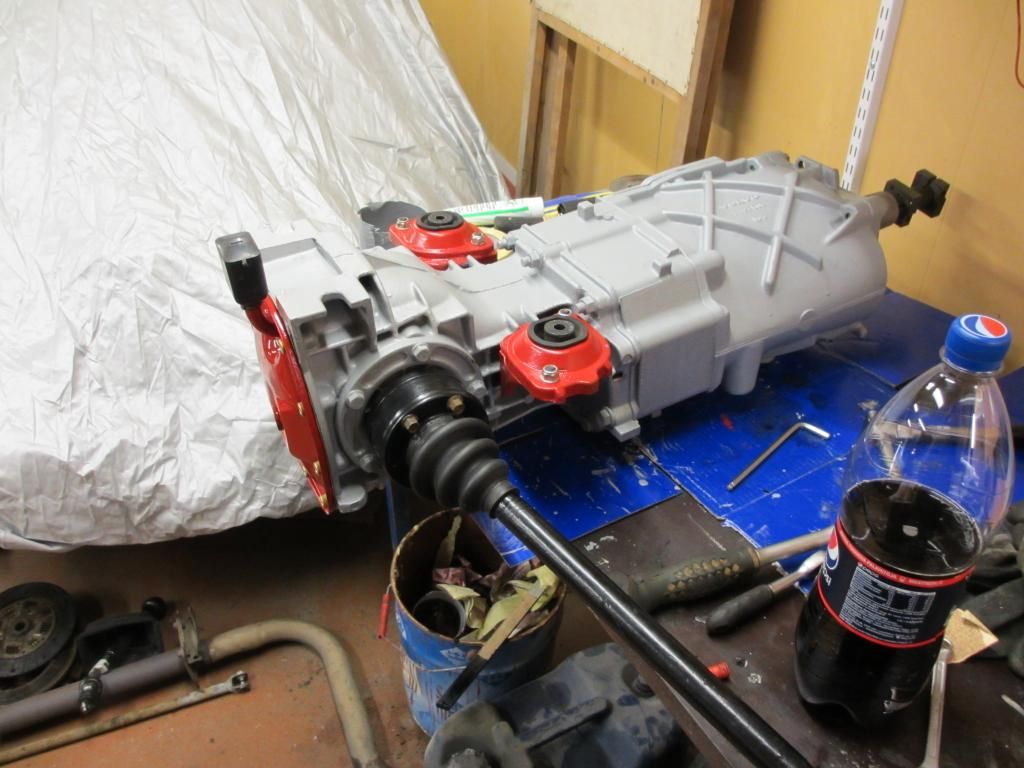
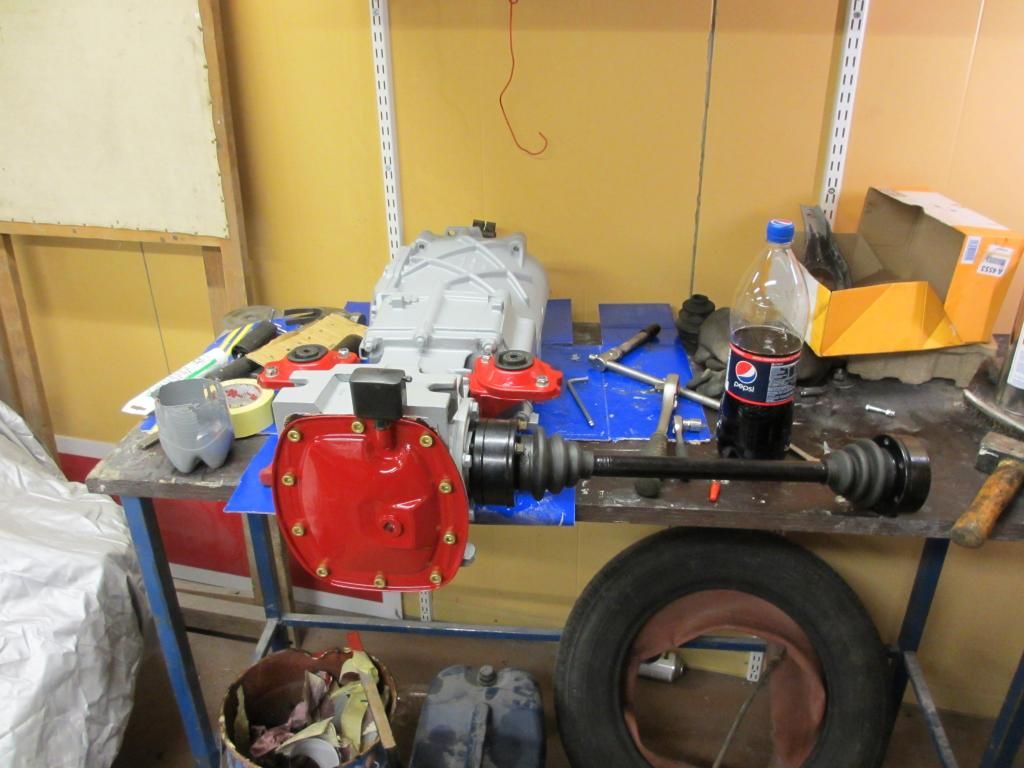
All seals is new in differential cover. Hopely oil stays inside now.
Re: Custome's "MM Styling" 360
Posted: 09 Dec 2012 02:24 pm
by Nimminz
that looks so good!
What did you use to clean it so well? I just painted my gearbox (bright yellow). I'm having to swap gearboxes again so would love mine to look so clean!
Re: Custome's "MM Styling" 360
Posted: 09 Dec 2012 03:45 pm
by Customer
First i washed with pressure washer. Second wash by hand with brake cleaner. Most oxidations removed by steelwire brush and kinfe. Then paint.
Re: Custome's "MM Styling" 360
Posted: 10 Dec 2012 02:57 am
by volvosneverdie
That looks very cool. There's something awesome about clean parts.
Re: Custome's "MM Styling" 360
Posted: 13 Jan 2013 06:29 pm
by Customer
Re: Custome's "MM Styling" 360
Posted: 13 Jan 2013 07:45 pm
by Ride_on
Good condition under there, difference is I had to depanel everything to get to that level.
I have done something similar with the painting, still to do the gearbox and one of the brackets though. Unfortunately only discovered sandblasting after I did the axle, so it may rust through sometime. Will see how it lasts but wil probably keep garaged if possible.
Resin is the best for sealing, but hard to work with seems to take weeks to harden properly in my case, I covered too early with chassis black and then took months to harden, but I've still not used the front suspension parts yet. All my parts are heavily pitted so I may try and collect some nicer items if they are available.
Did you paint the aluminium hubs and change the rear bearings?
Re: Custome's "MM Styling" 360
Posted: 13 Jan 2013 08:45 pm
by Speedy88
Looks really good man, love the rear Louvre too.
Re: Custome's "MM Styling" 360
Posted: 13 Jan 2013 09:57 pm
by Customer
Thanks!
Yes wheelbearing hubs is painted and ready to assembly new bearings. Bearings come from italy maded by breda lorett. How 300 brothers, are that bearings good?
I also change new bracke cylinders and brakehose to rear axle. Brakebads are 2 years ago changed. Front brakes also gets new hoses now.
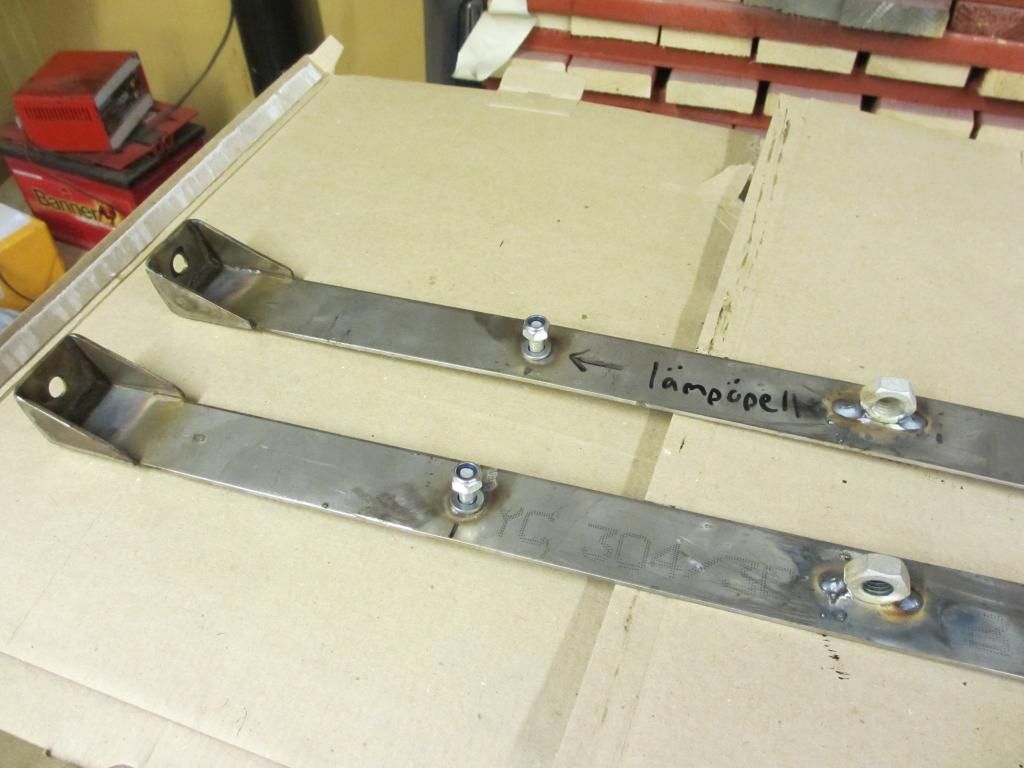
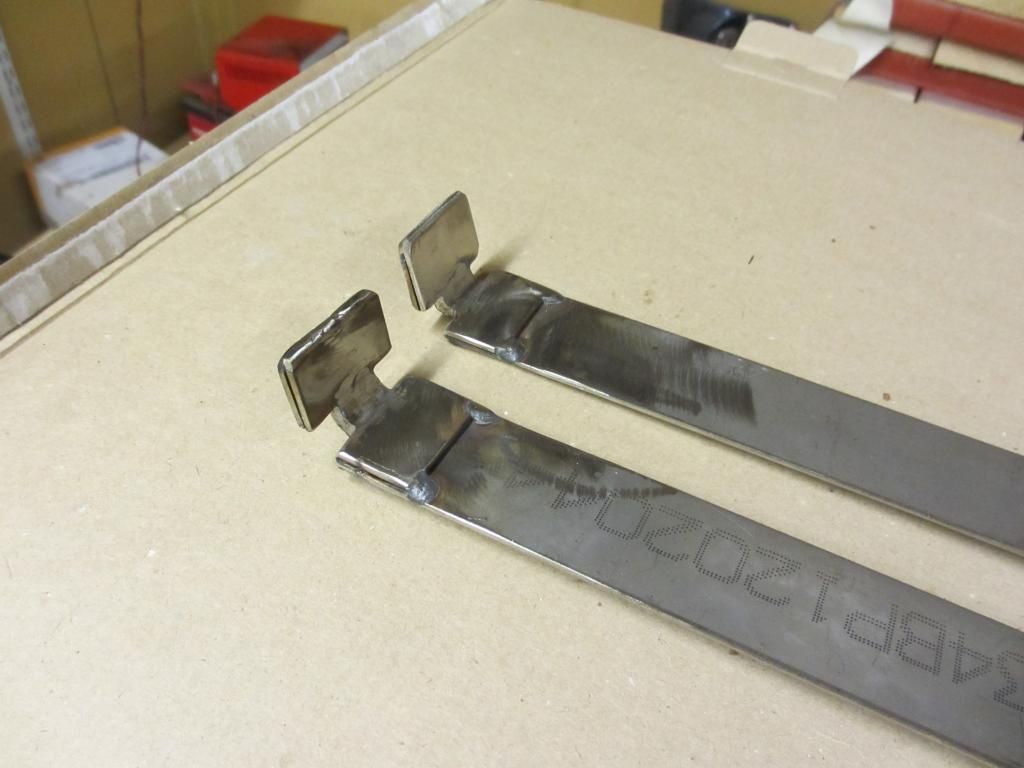
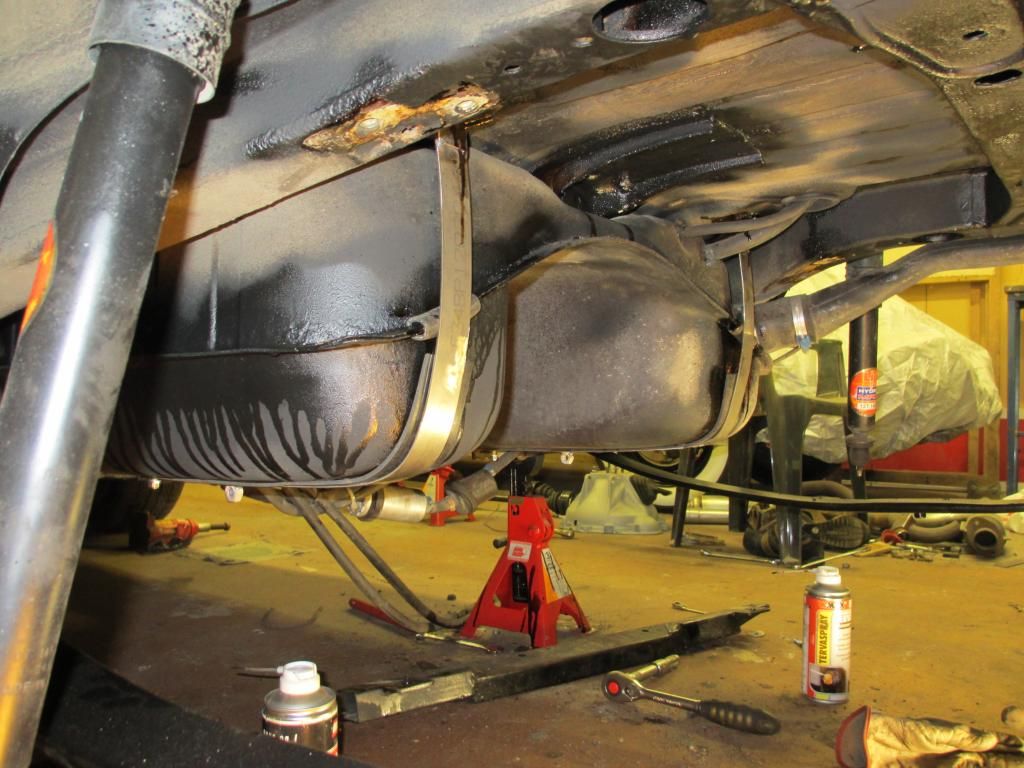
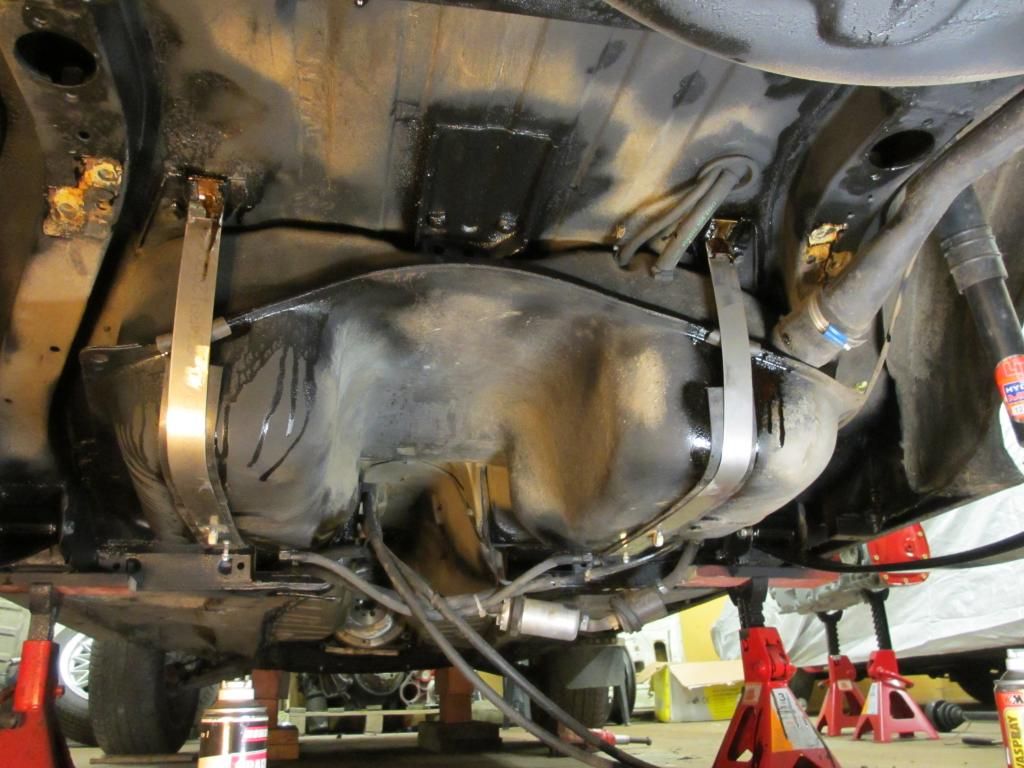
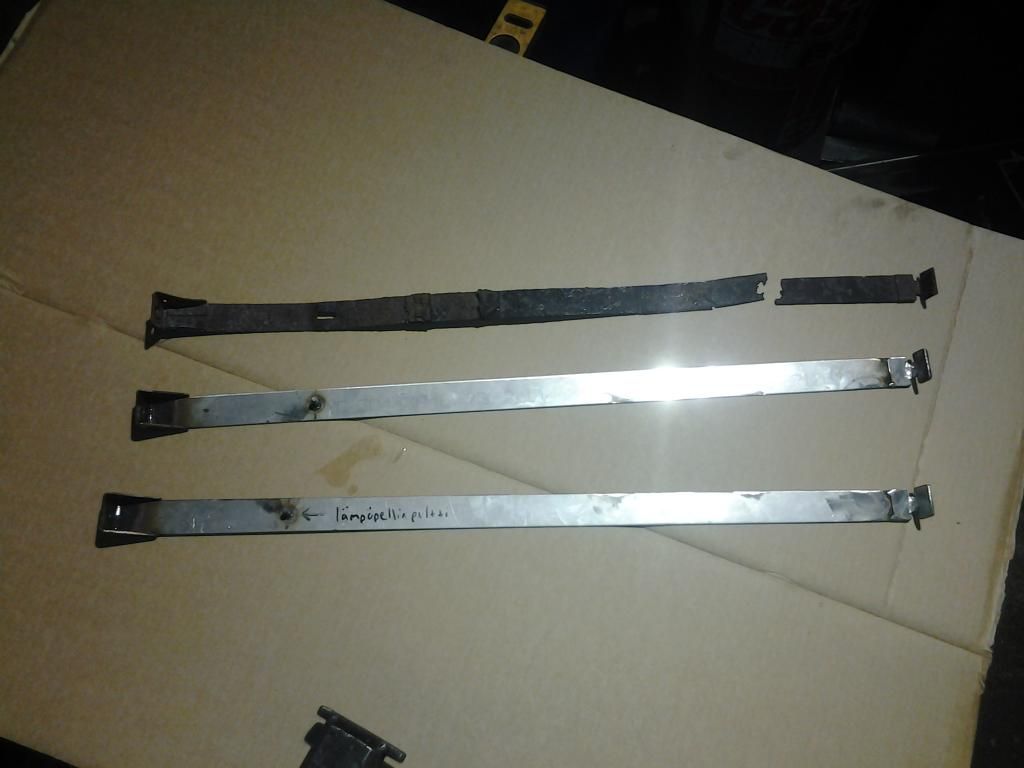
Also i must do new fueltank collars from stainless steel.
Re: Custome's "MM Styling" 360
Posted: 13 Jan 2013 11:21 pm
by classicswede
Looking very good. Nice to see someone going to such detail in a rebuild.
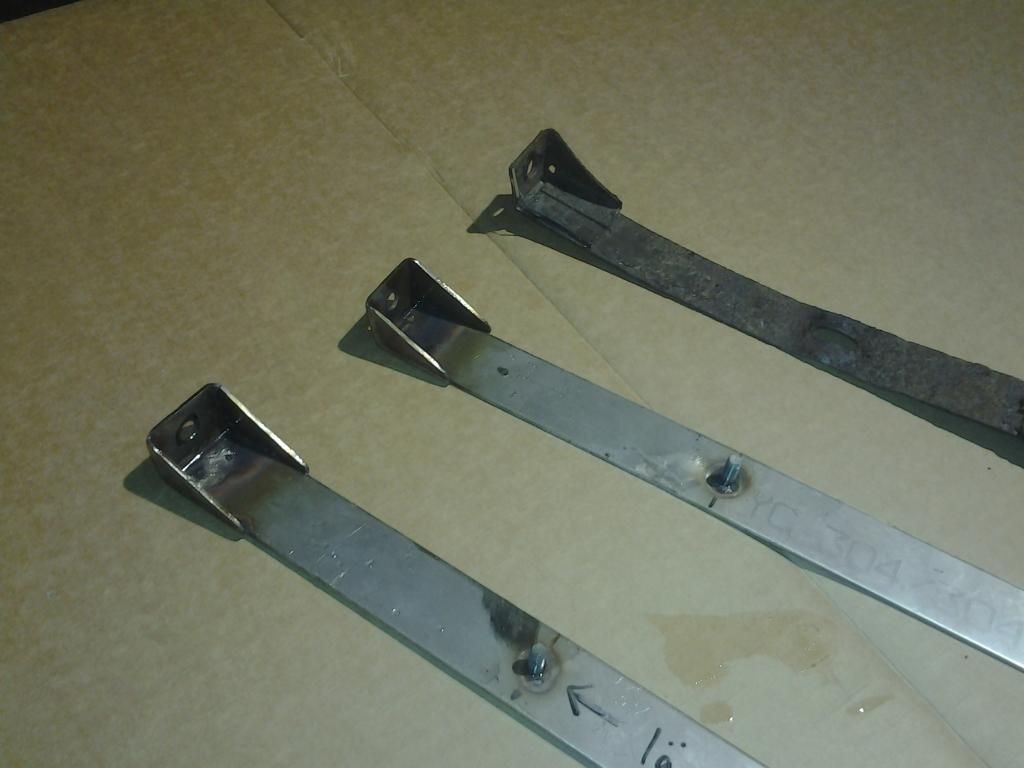
Re: Custome's "MM Styling" 360
Posted: 18 Jan 2013 11:00 pm
by Customer
I build new gastank collars from stainless steel.
Re: Custome's "MM Styling" 360
Posted: 19 Jan 2013 09:53 pm
by Customer